Work Orders – Overview
Overview
This document will serve as an overview of all of the functionality available via Work Orders (WO). Subsequent documents will discuss in detail all the features offered via WOs.
Definition: Work Orders are objects in Ascent that serve as a canvas for many areas of material movement, such as picking work orders, repair orders, refurbishment orders, testing orders, and the like. You can also generate customer invoices from completed work orders.
Work Orders consist of:
- Work Order – this is the record that houses the Status, Account, Description, Opportunity, Sales Order, Due Date, Total Number of Lines, Total Number of Completed Lines, RMA, Entity, Currency, Department, Tax Code, Tax Value, Source Location, and Movement Journal names.
- Work Order Line – this record is created for each item that is to be dealt with on this work order. It contains the item, quantity, Rate/Price, Lot, Type, Sub-Type, Move Inventory?, Consume Inventory?, Create Inventory?, Billable?, Status, and Sales Order Line.
- Work Order Completion Line – once a line on the WO is completed, this record is created. It contains the WO Line, WO, Quantity Completed, Lot, Location, Item, Recorded Cost, Total Recorded Cost, Notes, Quantity Invoiced, Rate Charged, Total Rate Charged, User Invoiced?, Billable?, Serial Numbers, Inventory TYpe, Transaction Type, Quantity Left to Invoice, and Currency.
- Sales Allocation Lines – if you choose to allocate the WO, these types of lines are created. They can be created through a function on the Ascent Mobile Menu called Allocate WO. They contain the Work Order, Work Order Line, Lot, Sales Order Line Quantity, Packed?, Sales Order, Packed Date, Back Ordered Line, Quantity Packed, Quantity Left to Pack , and Currency.
Work orders can be created manually or through clicking any of the Picking, Delivery, Inspection, or Repair Work Orders button.
Page Layout Changes:
In order to be able to use Delivery, Inspection, or Repair Work Orders, there are some page layouts that have to be changed.
On the Work Order itself, you need to add the field named Type.
First, go to the gear icon for setup:

After selecting Edt Object, you’ll see:
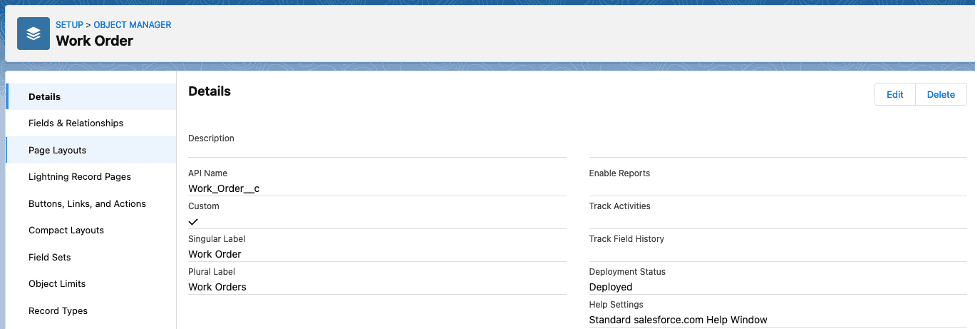
Click Page Layouts and this will appear:

Now click Work Order Layout:
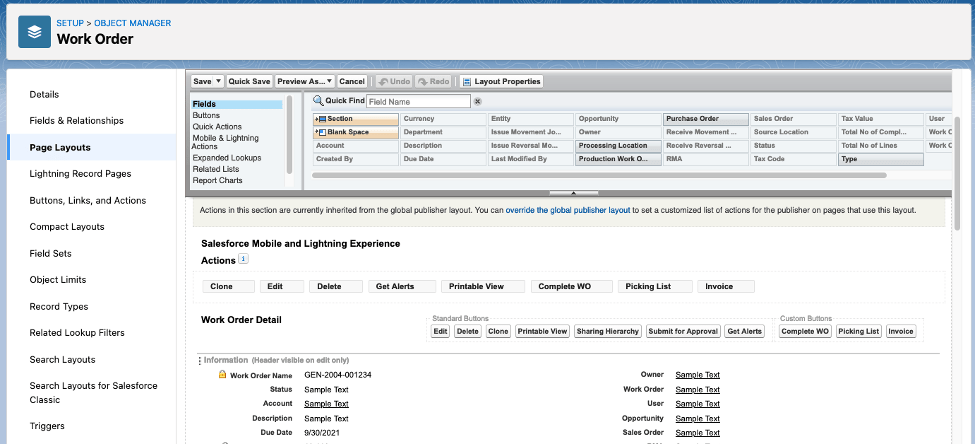
Drag the Type field somewhere in the page layout. We’ll choose to put it below Status:

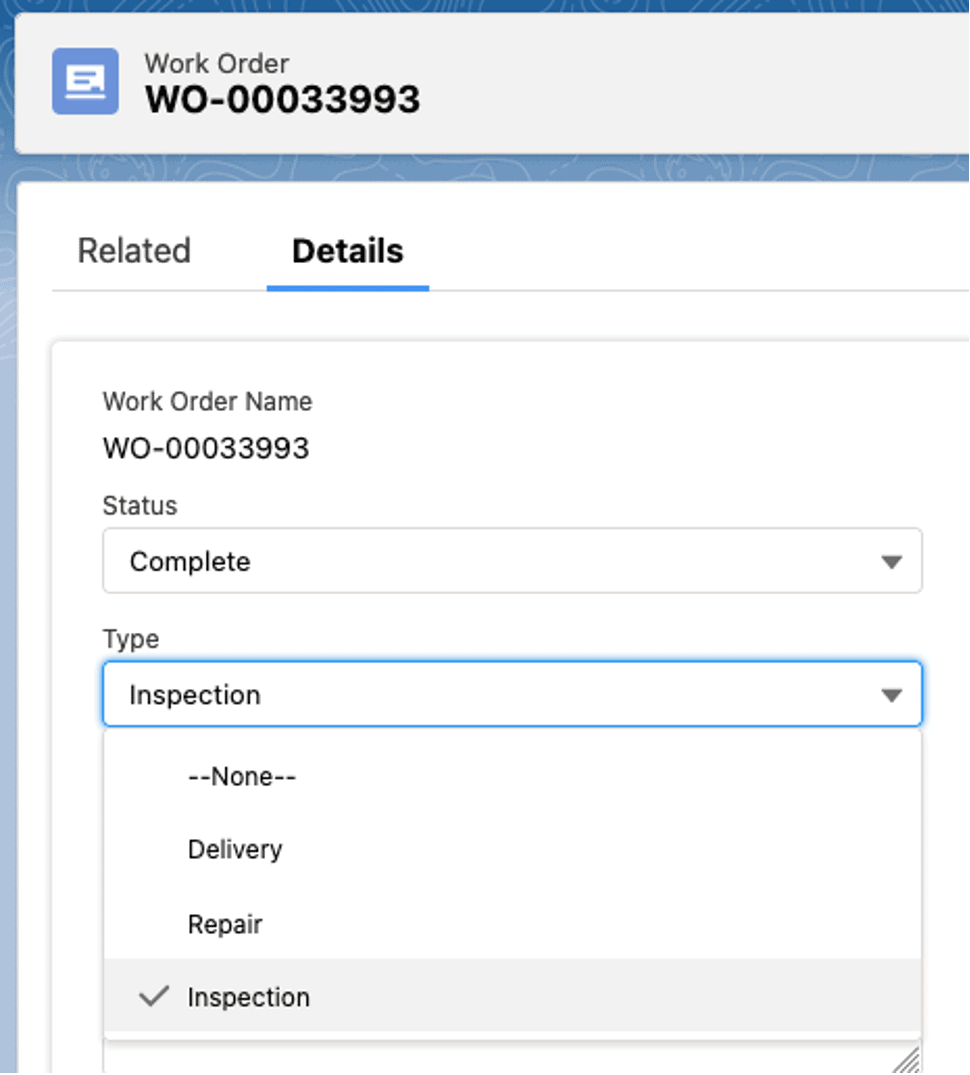
Hit Save, and you’ll get this. Notice the types of Work Orders:
Let’s also edit the page layout for Purchase Orders and Production Work Orders, using the process illustrated above. First, purchase orders:

After clicking Purchase Order Layout:
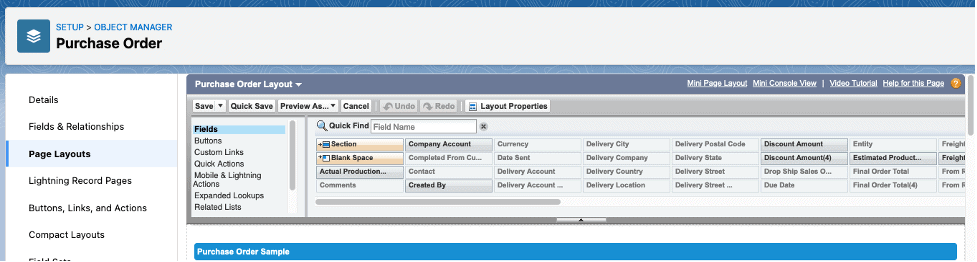
Let’s add to Buttons:
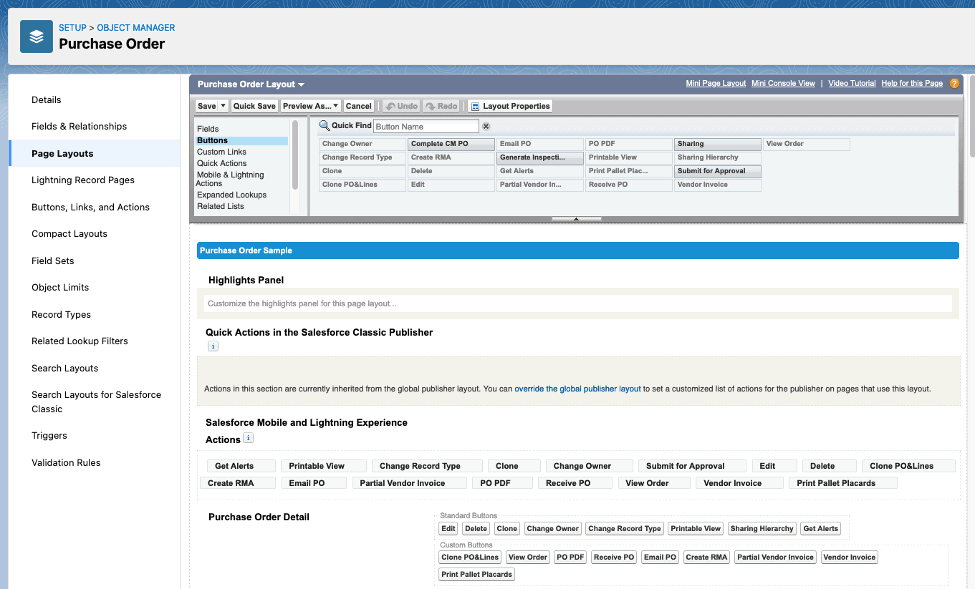
Select Generate Inspection WO and drag it down to the Custom Buttons (this would be when using “Classic”):

Also, let’s change to Mobile & Lightning Actions:
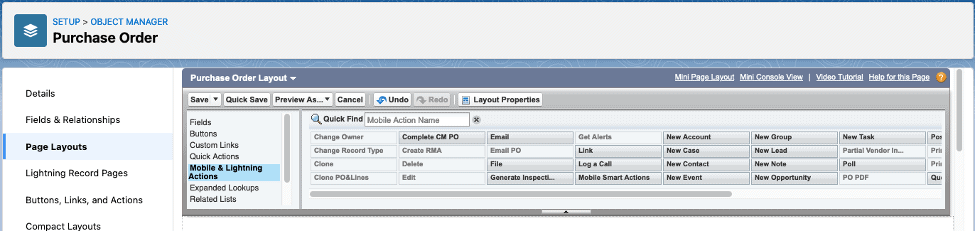
Let’s drag the Generate Inspection WO down to Salesforce Mobile and Lightning Experience:
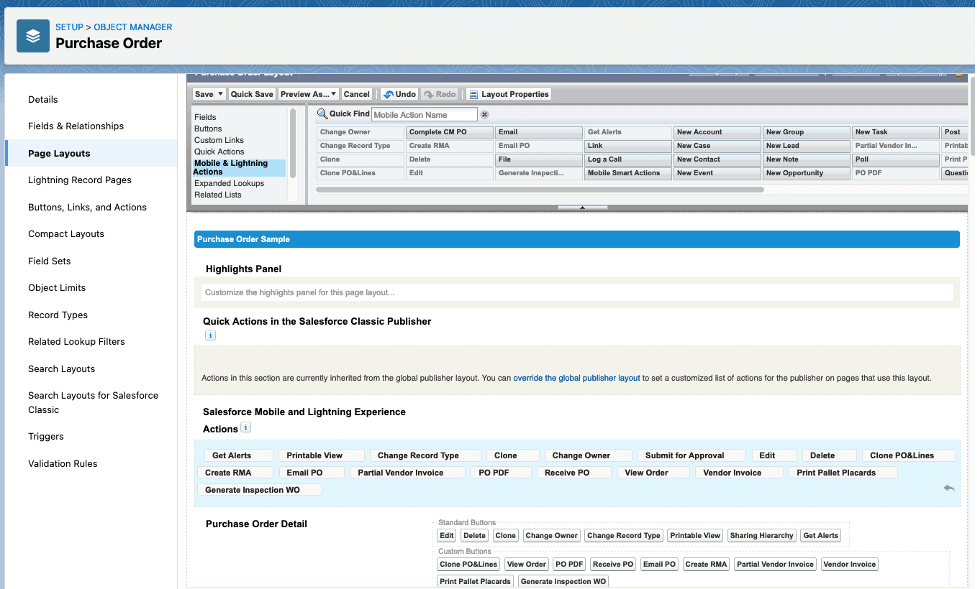
Hit Save and you’ll see this button appear:

Lastly, let’s do likewise to the Production Work Order:

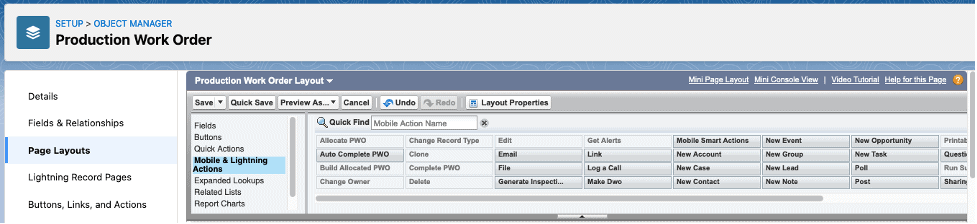
Click Production Work Order layout:
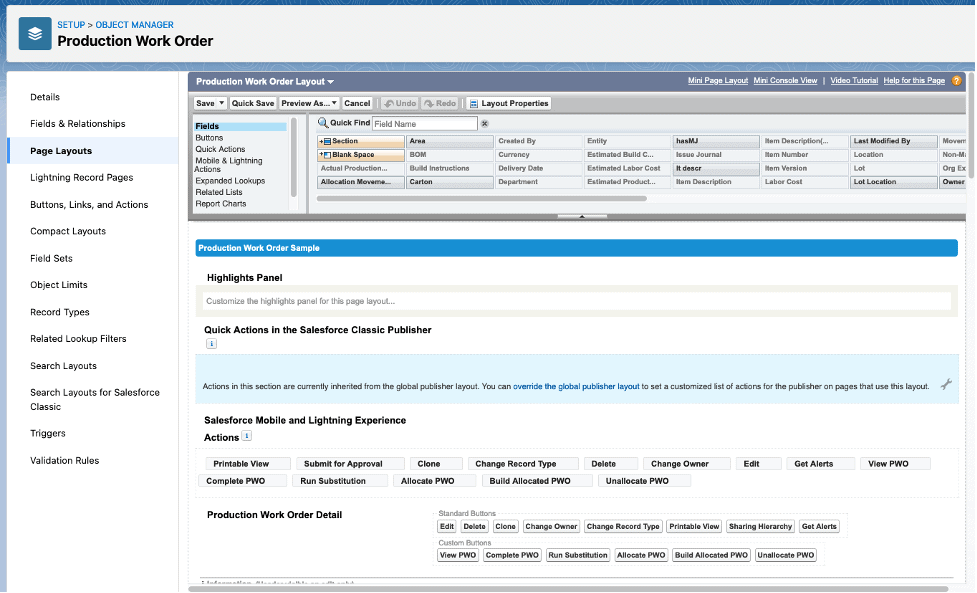
Select Generate Inspection WO and drag it down to the Custom Buttons (this would be when using “Classic”):

Also, let’s change to Mobile & Lightning Actions:
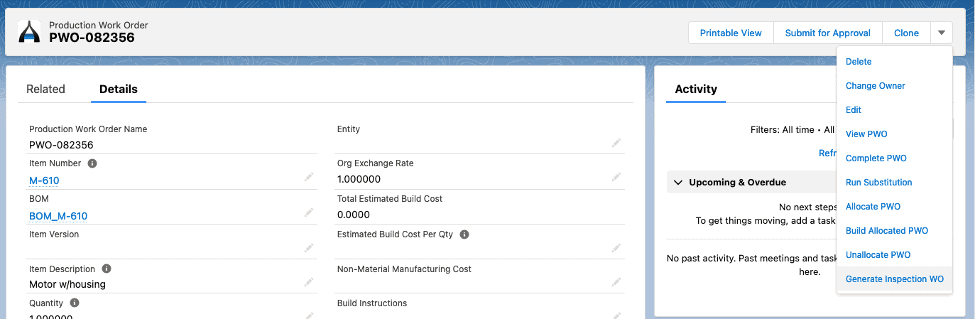
Let’s drag the Generate Inspection WO down to Salesforce Mobile and Lightning Experience:
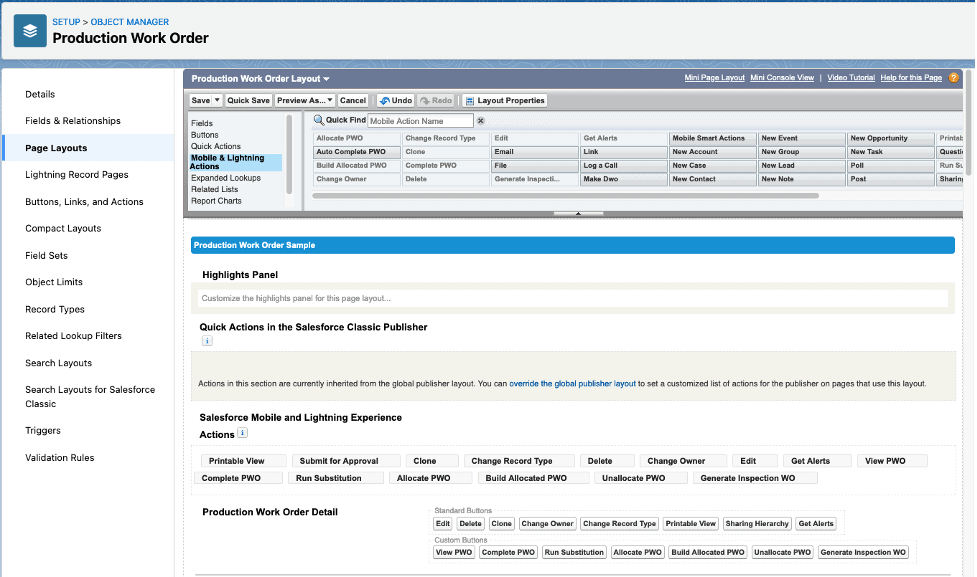
Hit Save and you’ll see this button appear:
Detailed Documentation:
- Work Orders – Creation – Click Here
- Work Orders – Picking Work Orders – Click Here
- Work Orders – Delivery Work Orders – Click Here
- Work Orders – Inspection Work Orders – Click Here
- Work Orders – Repair Work Orders – coming soon
- Work Orders – Allocation – coming soon
- Work Orders – Pick List – Click Here
- Work Orders – Completion – Click Here
- Work Orders – Invoicing – coming soon