Item Movement
Overview:
Simple Item Movement in Ascent can happen in four ways
- Item Master: Item Movement – You can move quantities from one location to another.
- Item Master: Lot to Lot Item Movement – You can move quantities from one lot to another lot.
- Bulk Item Movement – With this function, you can move material for multiple items from location to location. You can even create new lots “on-the-fly” to transfer material to.
- Mass Location to Location Move – This function allows the user to move ALL material from one location to another. There is no need to select lots or serial numbers. The system will update all location counts and, if moving from a counted in inventory location to a not counted in inventory location, will also adjust the Quantity on Hand and Quantity on Hand Not Counted in Inventory fields.
There is another way to move material which is a more formal process, and that would be using Transfer Orders. The Transfer Order process allows you to move material from a source location to an in-transit location, and then to the destination location. Paperwork can be generated (pick list, pack slip, receiving document) along the way to make the process more formal. This would be used if there is a significant transit time from the source to the destination location. While the material is in transit, it can be logically separated from any normal use location.
This document will describe the four methods mentioned above.
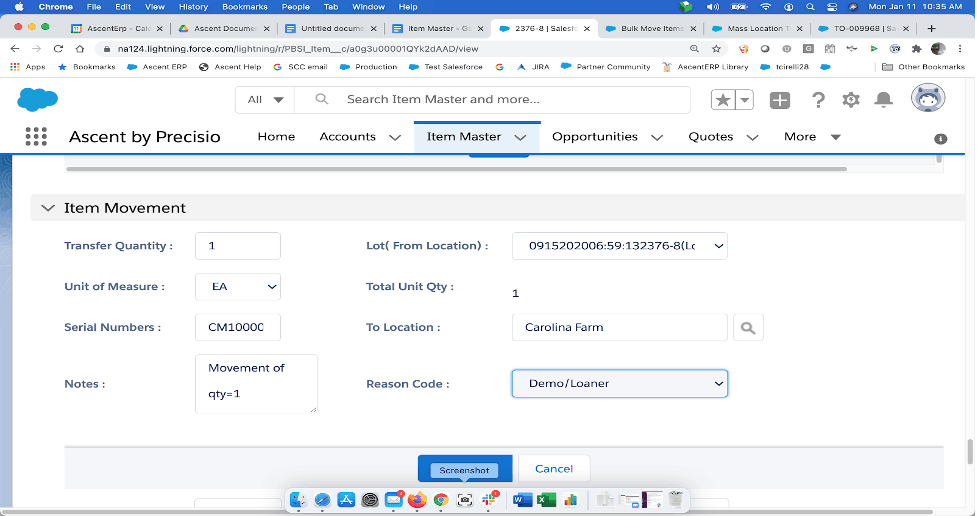
Item Master: Item Movement – This function allows you to move inventory within the item in question from lot location (or just location if lots are not turned on) to another location. If the item is serialized, then you will be prompted for as many serial numbers as the value you put in the Total Unit Qty: field. If you choose a serial number that is not on file or is not in the lot/location you selected, the system will give you an error indicating as such.
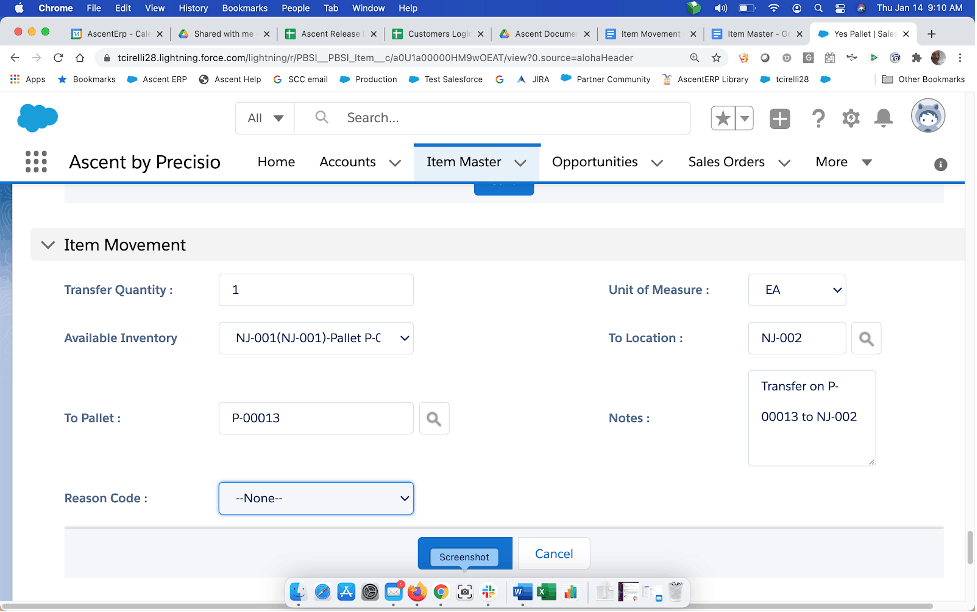
Now, if you are using pallets, then you can transfer inventory from one lot, location, or pallet to the same pallet in a different location, by referencing the same pallet ID. If you leave ‘To Pallet:’ blank, then the material will be moved to a location and will not reference a pallet.
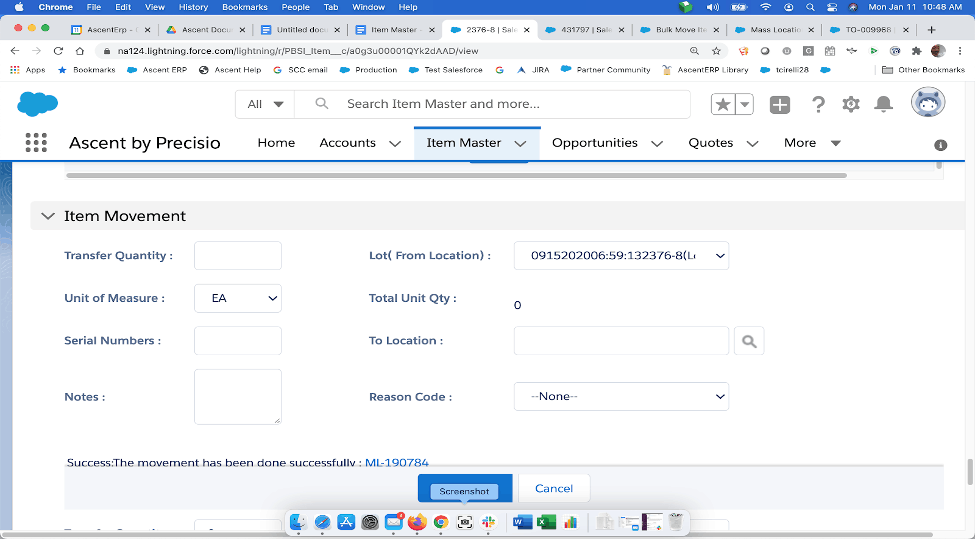
If you are not tracking lots or pallets, you can move inventory from one location to another like so:
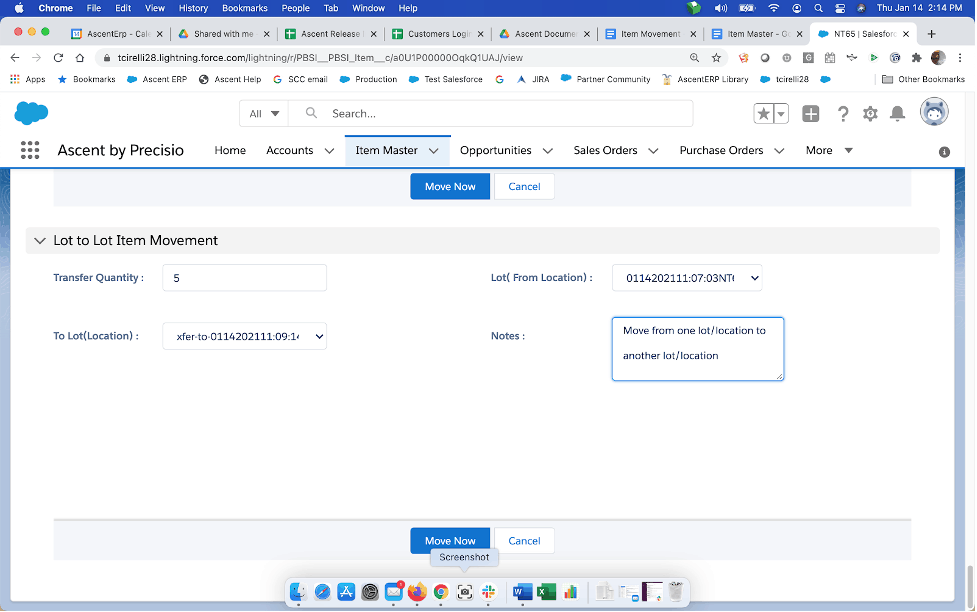
Item Master: Lot to Lot Item Movement – There are instances where a purchase order was received to the incorrect lot. This function allows you to move the incorrectly received material to the correct lot.
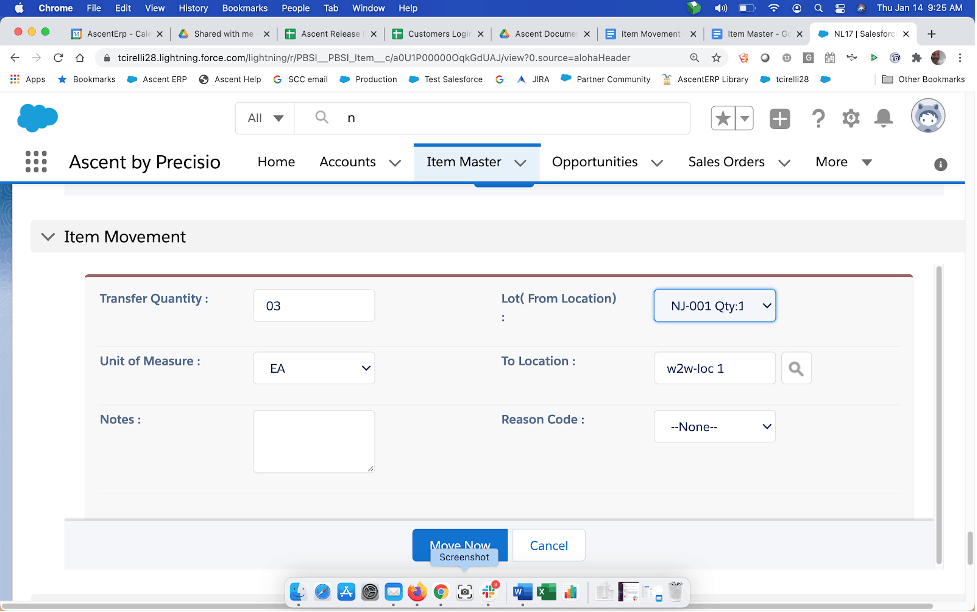
In this case, we are moving from one lot (location) to an existing lot (location):
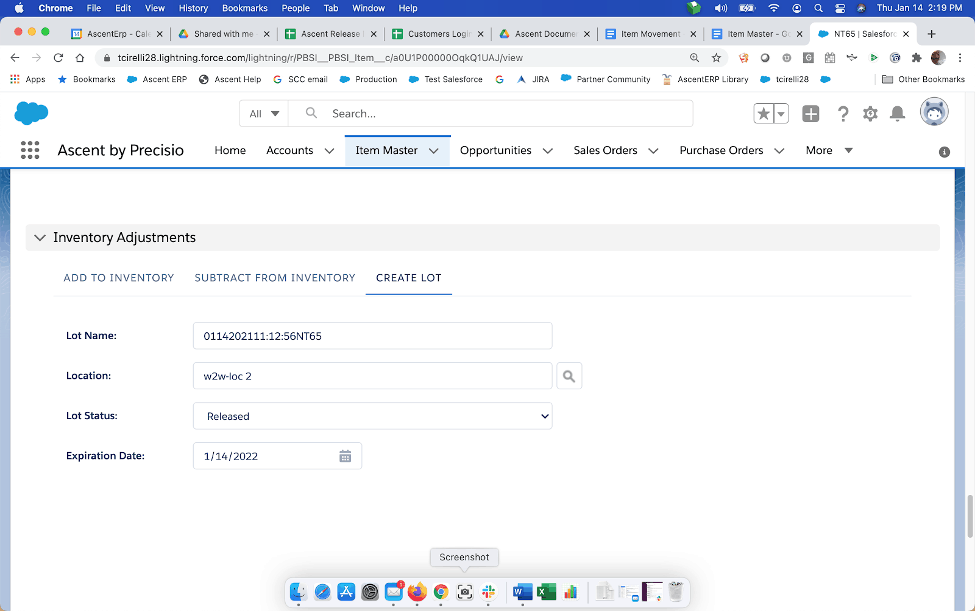
We can also create a NEW lot in the Inventory Adjustment section of the item master. You would click on “Create Lot”. Ascent will then derive a lot name for you, based on mmddyyyy:hh:mmitemname. Or, you can use your own. You must provide this with a location where this lot will reside.
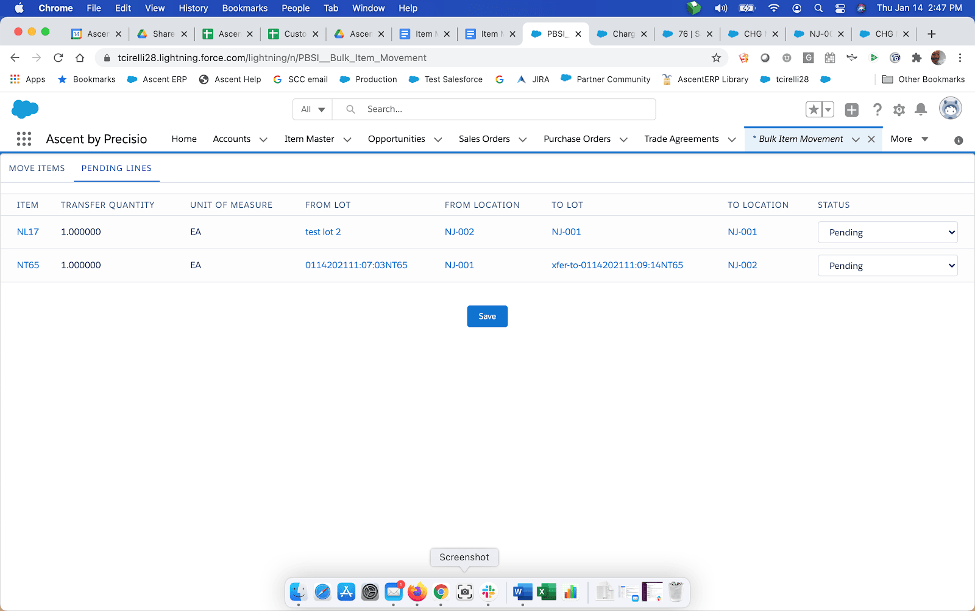
Bulk Item Movement – With this function, you can move material for multiple items from location to location. You can even create new lots “on-the-fly” to transfer material to. In the following example, we’ve selected for ite NT65, a lot, and a different lot to move to. The second line, (for NL17) we’ve chosen to create a lot-on-the-fly. That process starts by clicking the plus sign (+) then entering a Lot Name, Location, and Expiration Date. If you’re happy with that then select the green checkbox to confirm. Once you’re satisfied with everything, you can hit Save.
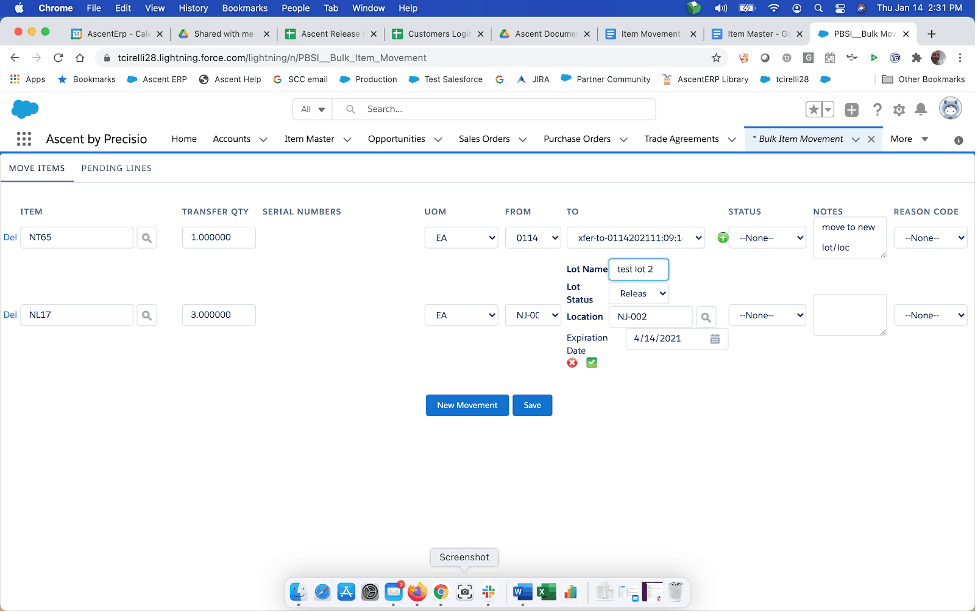
In addition, you can create a “Pending” group of movements. In this case, you can set the “Status” field to “Pending”. Then upon hitting “Save”, these potential movements will move into the Pending Lines queue:
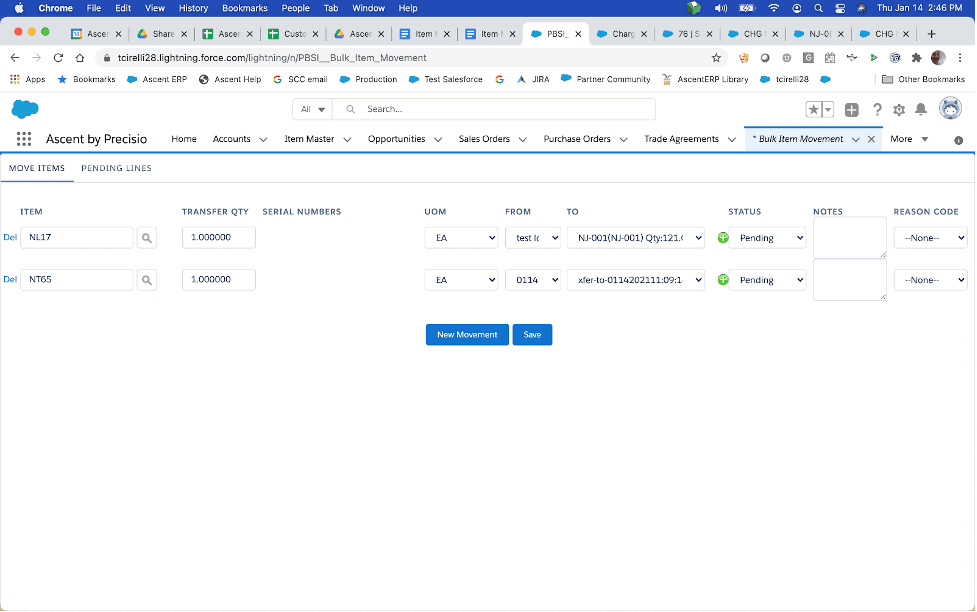
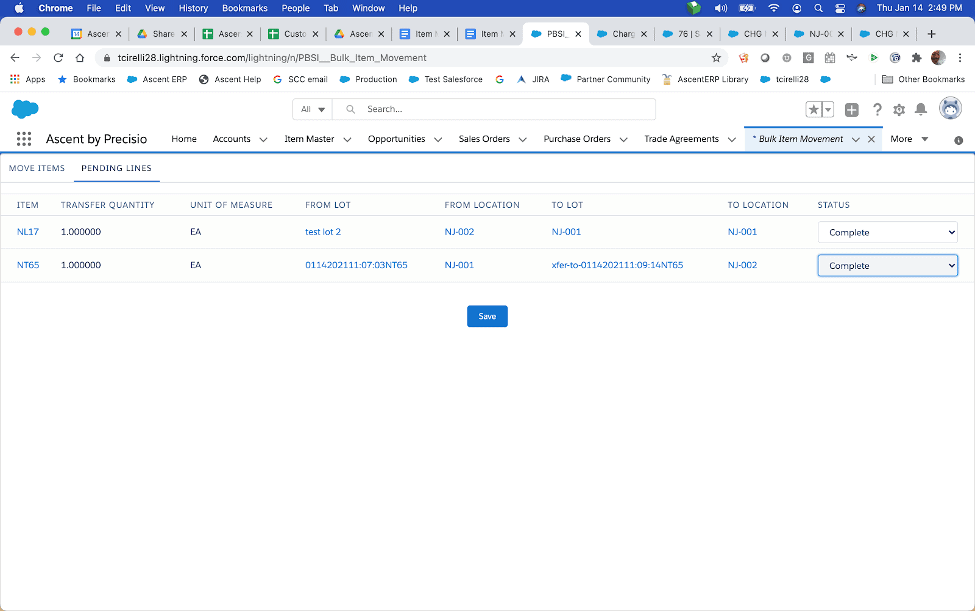
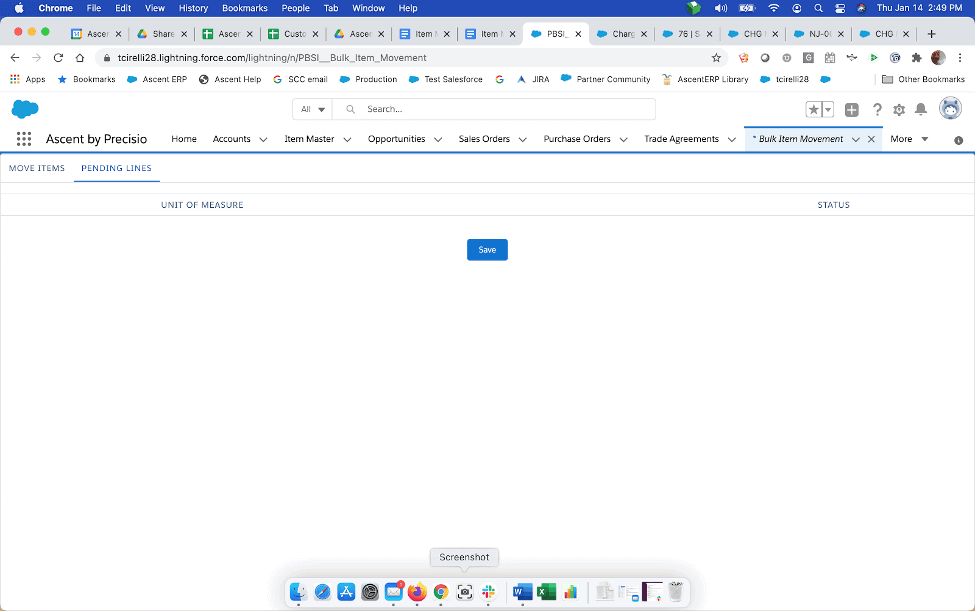
Notice in the previous screenshot that the PENDING LINES button has been clicked, and the two lines are in a Pending status. If you change the statuses to Complete and hit Save, then these movements will be executed, and will no longer appear in the PENDING LINES queue.
Mass Location to Location Move – This function allows the user to move ALL material from one location to another. No need to select lots or serial numbers. The system will update all location counts and if moving from a counted in inventory location to a not counted in inventory location, will also adjust the Quantity on Hand and Quantity on Hand Not Counted in Inventory fields.
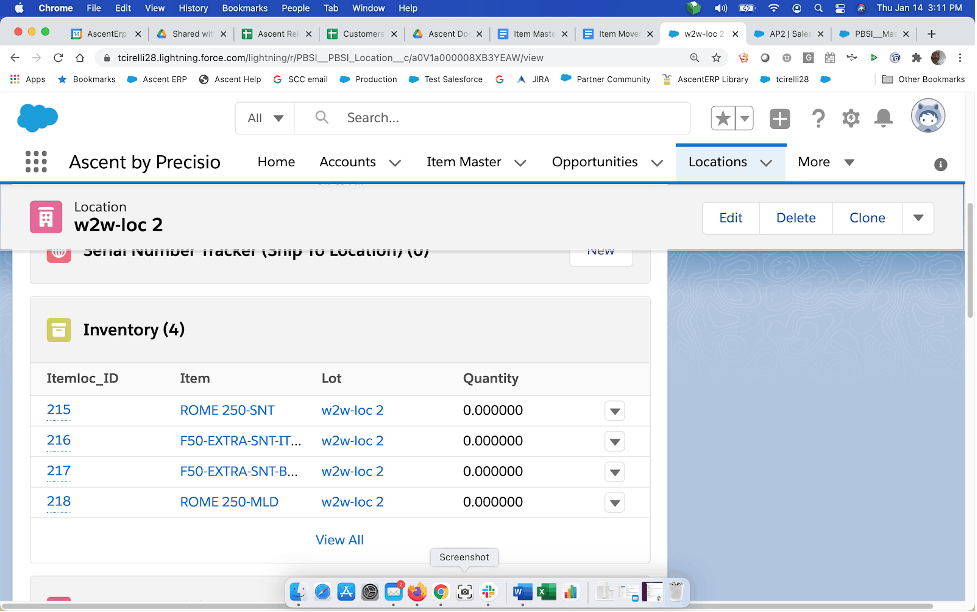
Let’s use this example: we want to move all inventory from location w2w-loc 2 to location AP2.
First, here’s the inventory in w2w-loc 2:

Now the inventory in AP2:

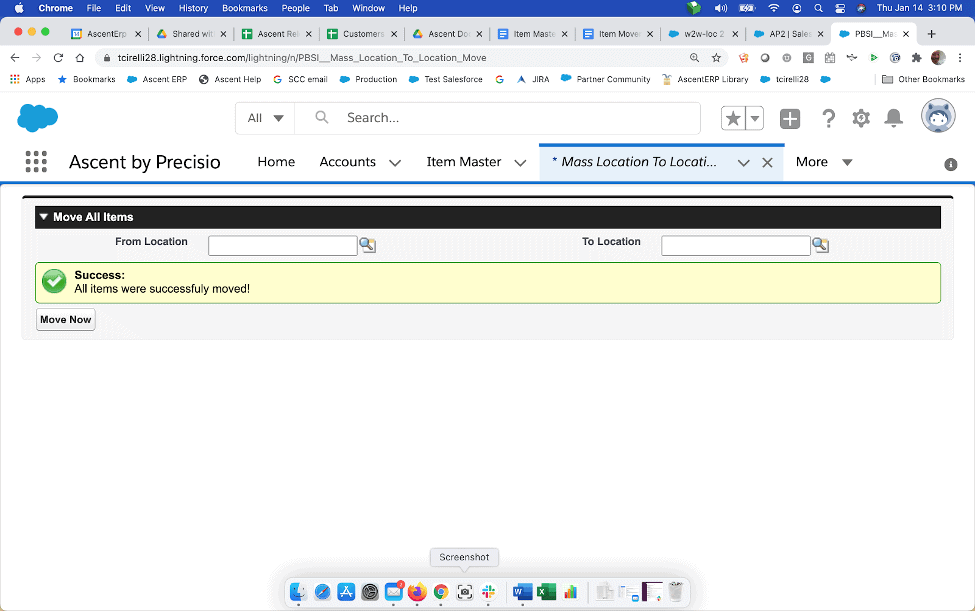
To perform the mass location to location movement, we would select the tab called Mass Location to Location Move:
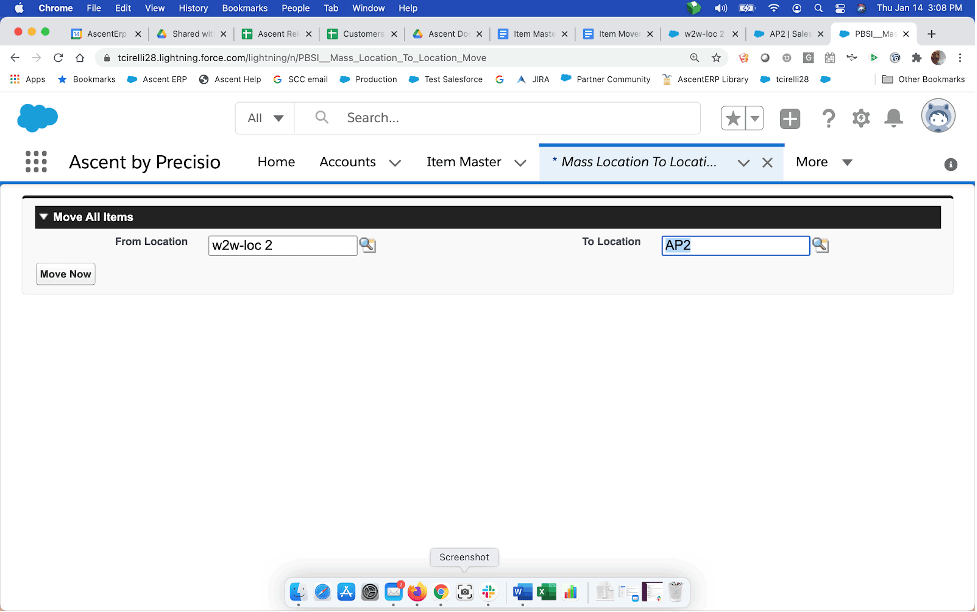
Upon hitting “Move Now”, the inventory will move (all of it) from w2w-loc 2 to AP2. Temporarily, the system will say “Moving”, but upon completion, the system will respond with this message:
And finally, AP2’s inventory:
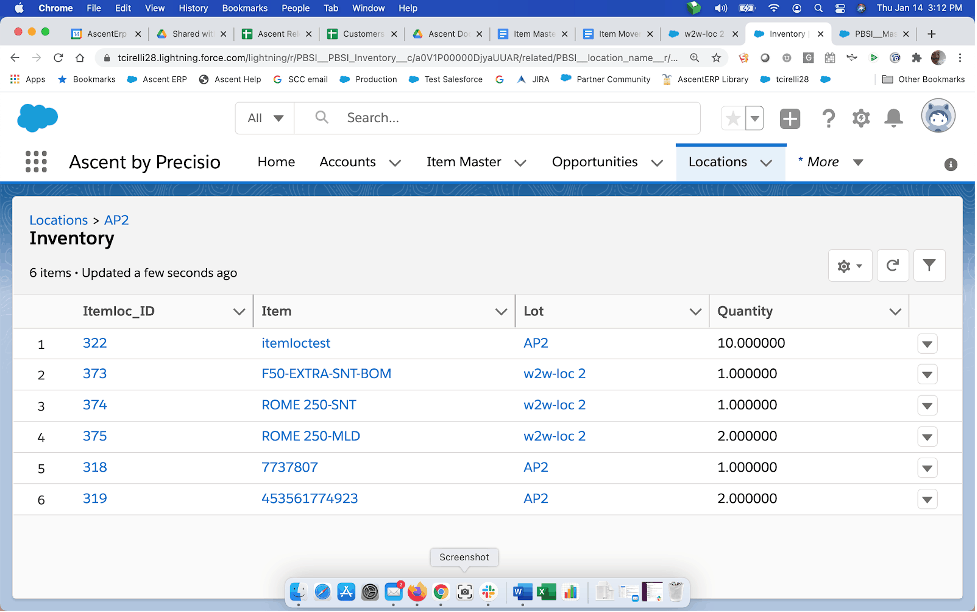
We see that all inventory (3 records with quantities greater than 0) were moved from w2w-loc 2 to AP2.