Repair Work Order – Cases and Return Lines
Overview and Process
A Repair Work Order is used when a company either receives material from a customer via an RMA/Return or has stock that requires maintenance/repair/refurbishing/etc.
Based on how you use Ascent, Repair Work Orders can be generated in three different scenarios:
- Cases using RMA Lines
- Returns and Return Lines
- Cases using Return Lines
We will illustrate Cases using Return Lines in this document (there are other documents to describe the other two processes) and show how the Custom Settings need to be configured to achieve them.
Creating a Repair Work Order from Cases/Return Lines:
First, let us review the custom settings required to do this:
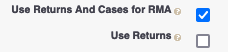
Use Returns and Cases for RMA custom setting needs to be checked.
Use Returns custom setting needs to be blank.
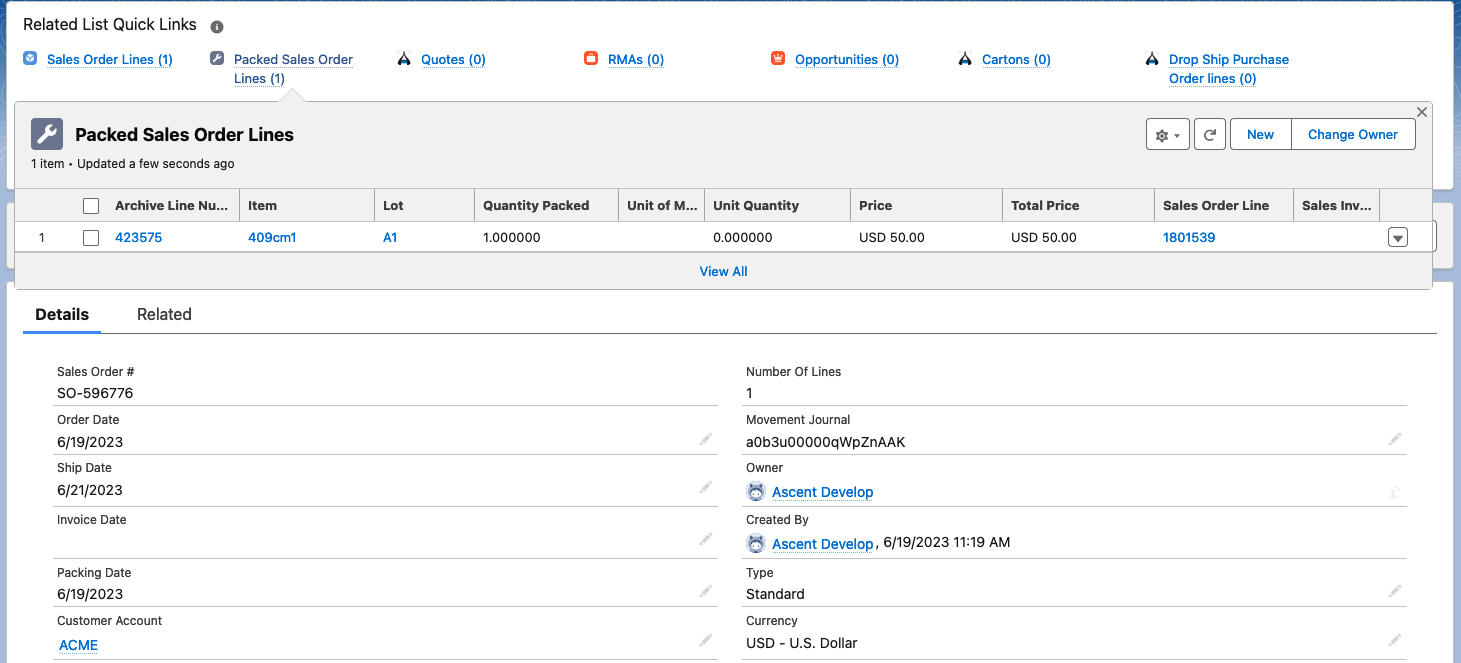
Now, let’s take a packed sales order and create a Return (the customer is now returning the merchandise):
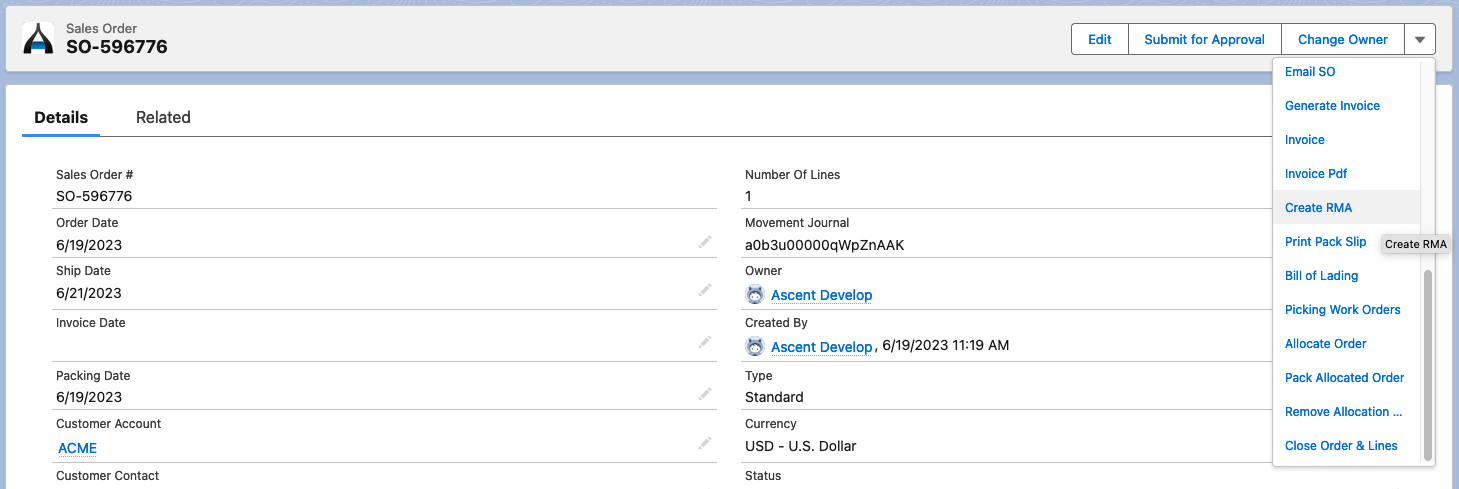
Click the down arrow next to the Change Owner button and select Create RMA:
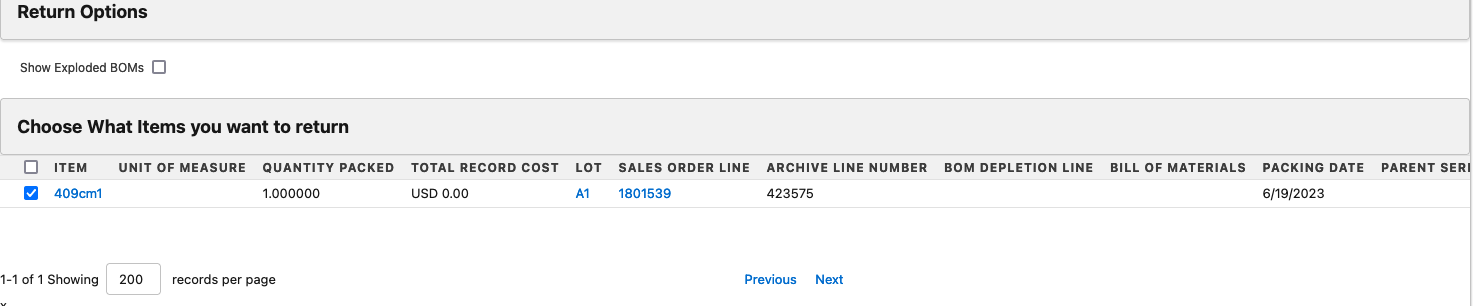
Select the line item to be returned and hit Save:
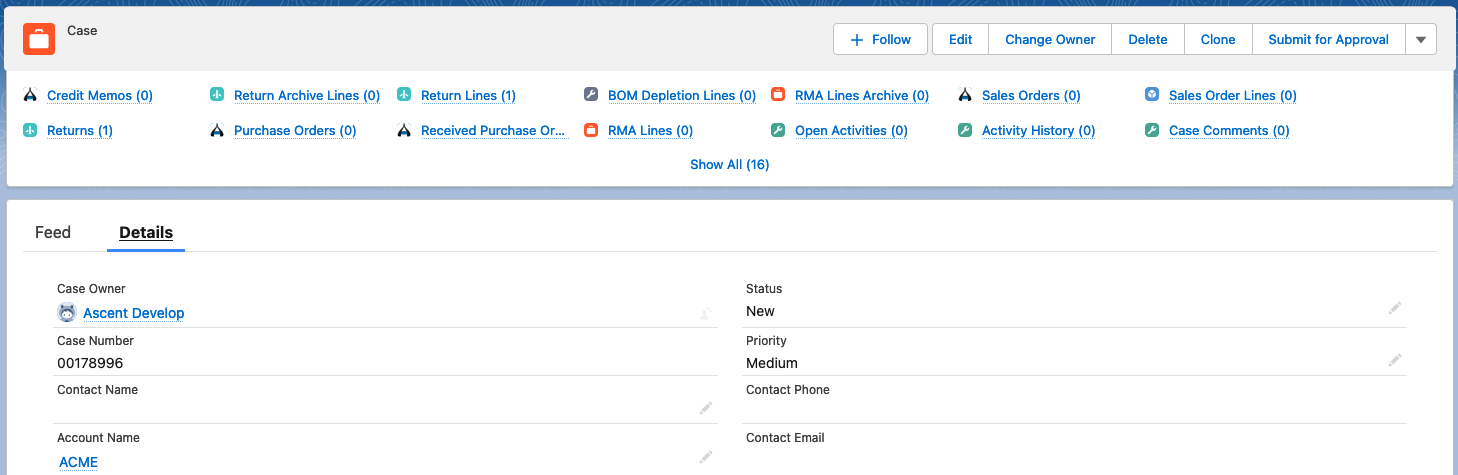
You’ll then be brought to the Case screen, where you can see the Case that has been created:
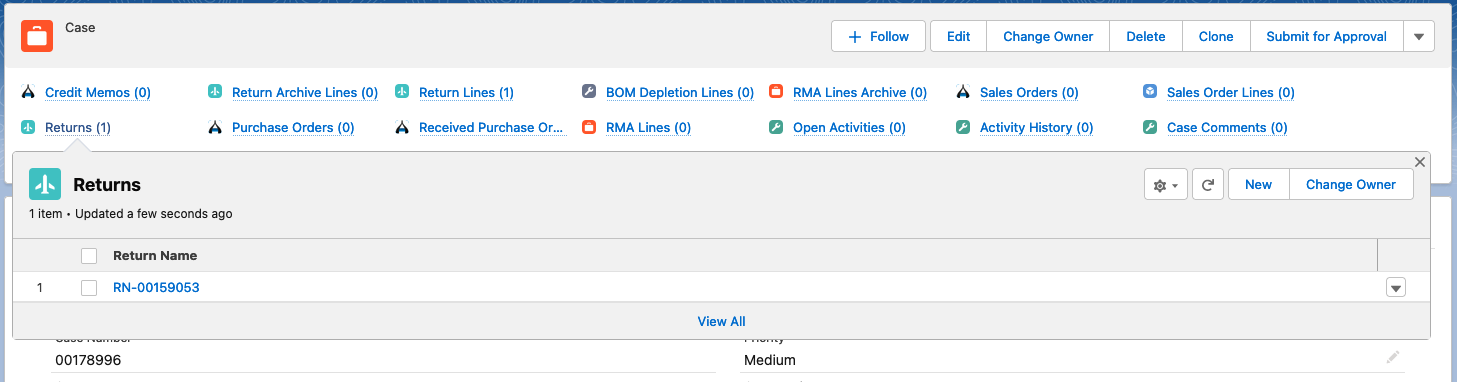
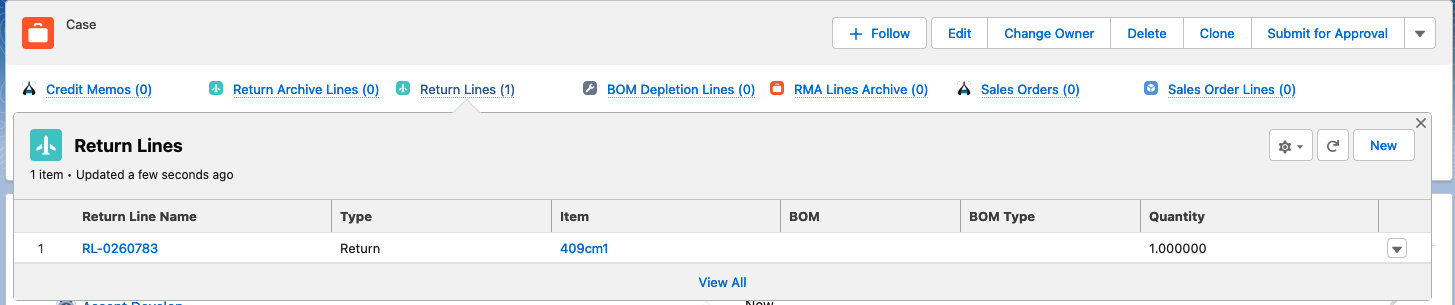
Additionally, you’ll see that a Return and a Return Line has been created:
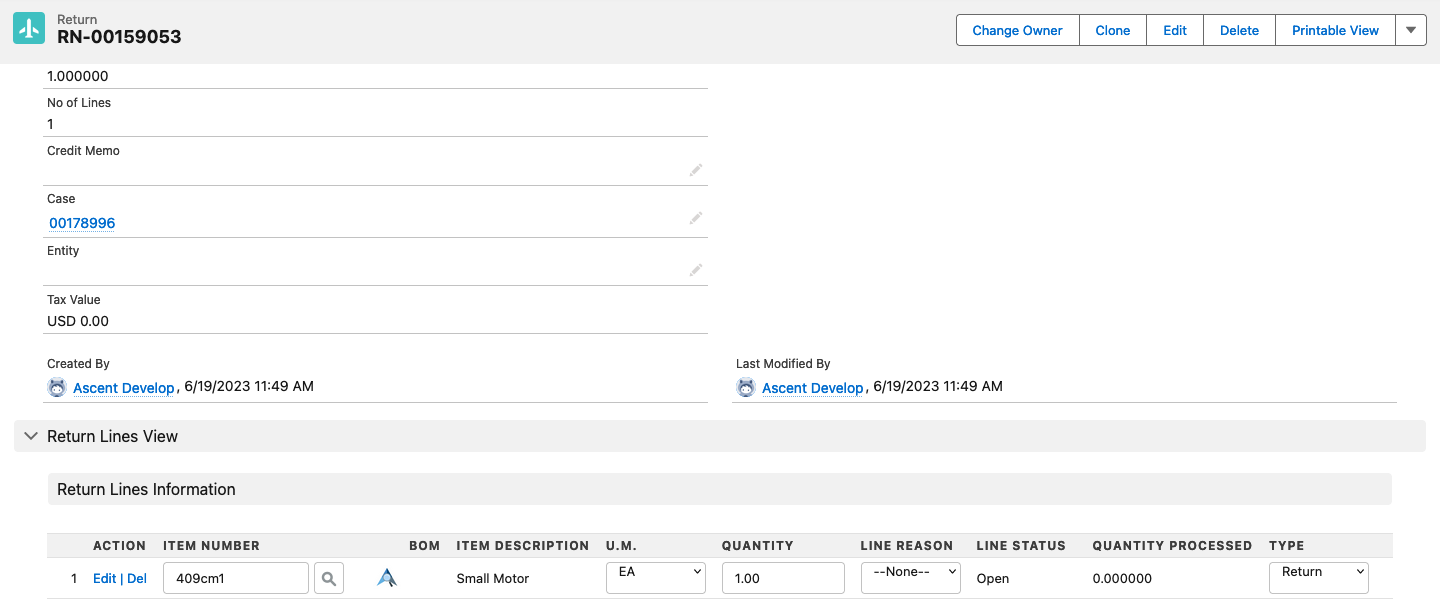
Let’s look at the Return that was created. We’ll see that it referenced the Original Sales Order as well as the Case that was created:

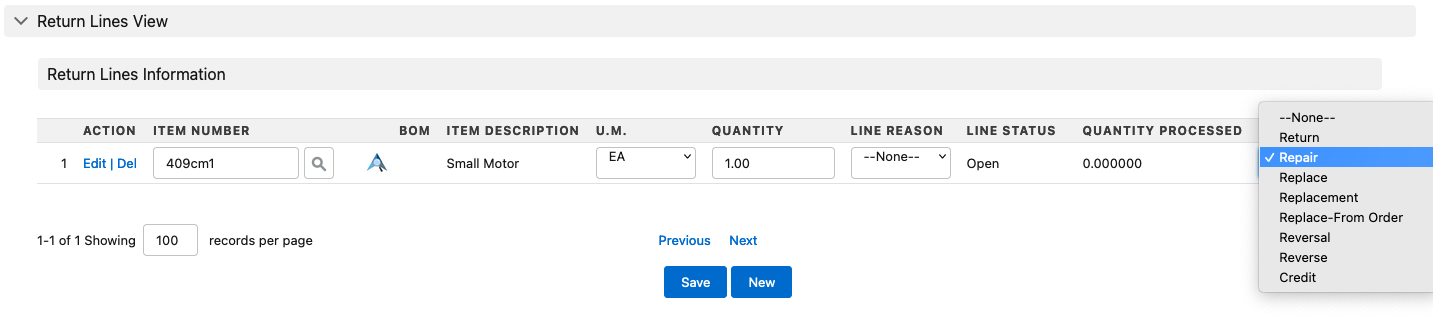
Now, let’s change the Return Type on the Return Line to Repair and hit Save:
Then, click the down arrow to the right of the Submit for Approval button and click Process Return Lines:
You see this screen (after hitting Process Return Lines and then selecting Process for the line you wish to return):
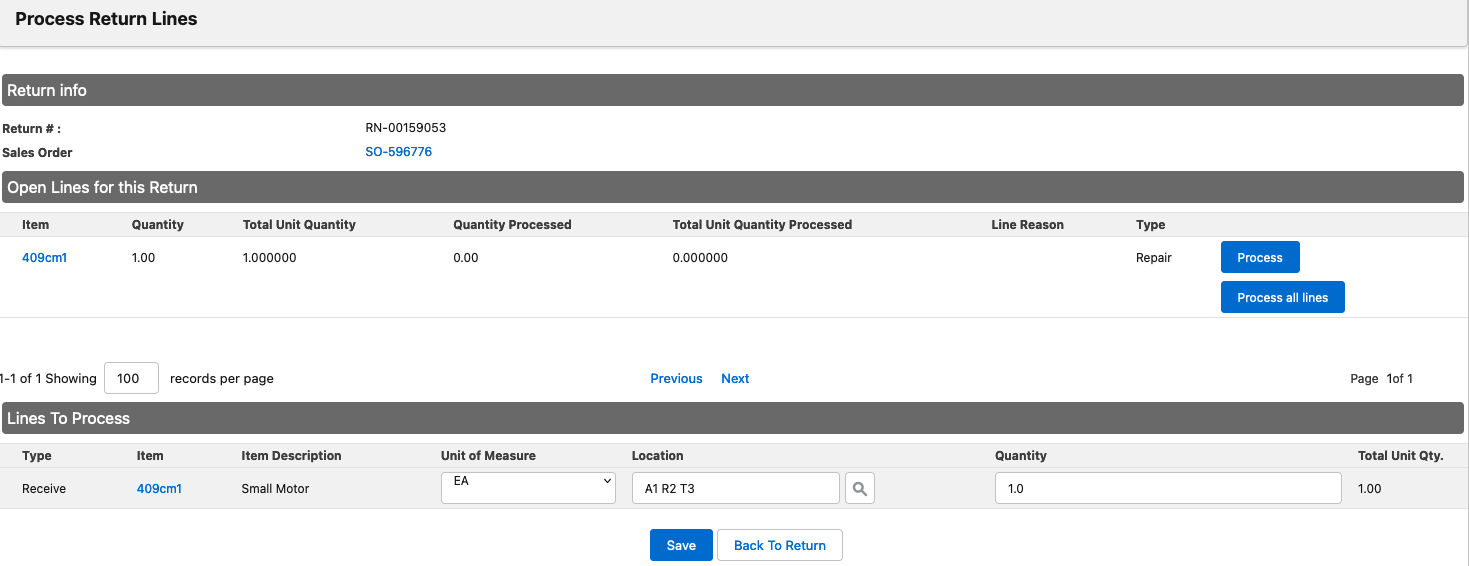
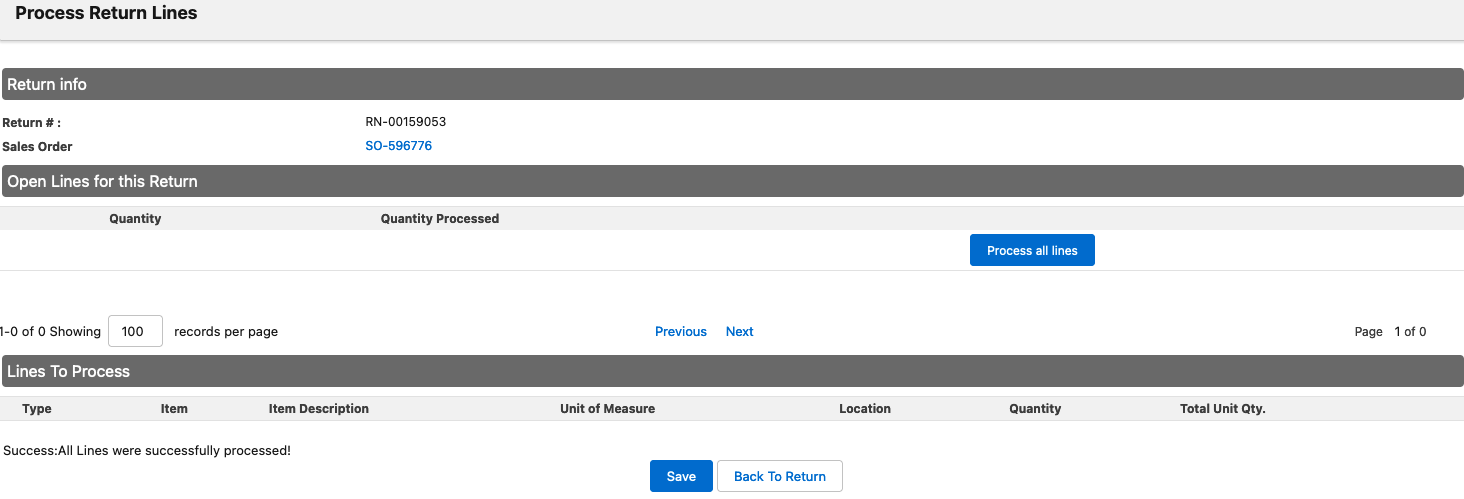
We’ll take the default Location and hit Save. You’ll get this confirmation:
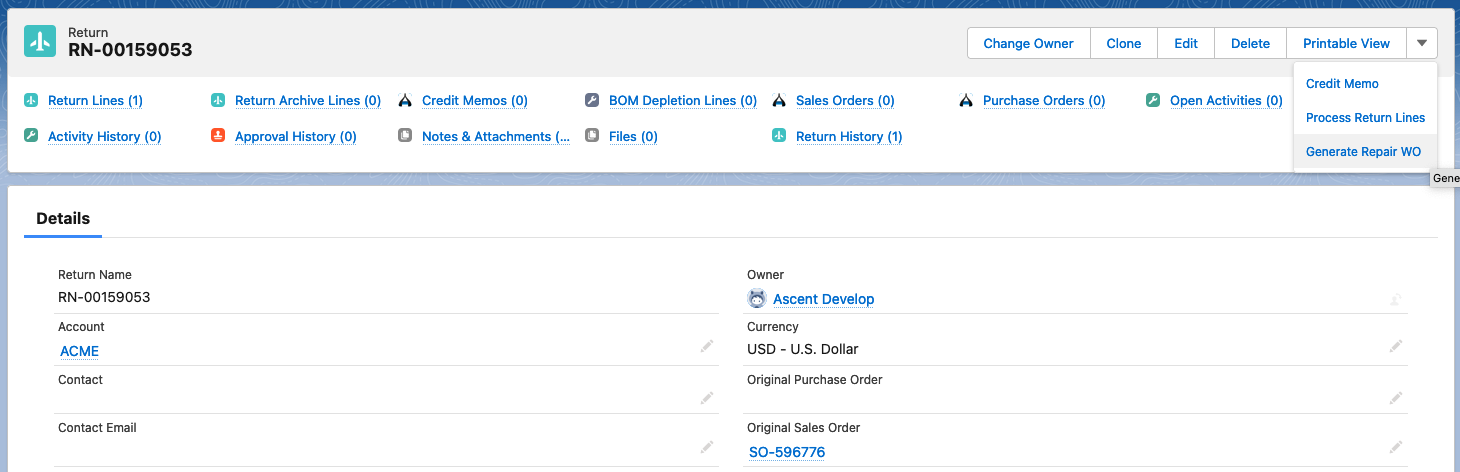
To create a Repair Work Order, we would click the down arrow next to the Printable View button and select Generate Repair WO:
Here’s the Repair Order:
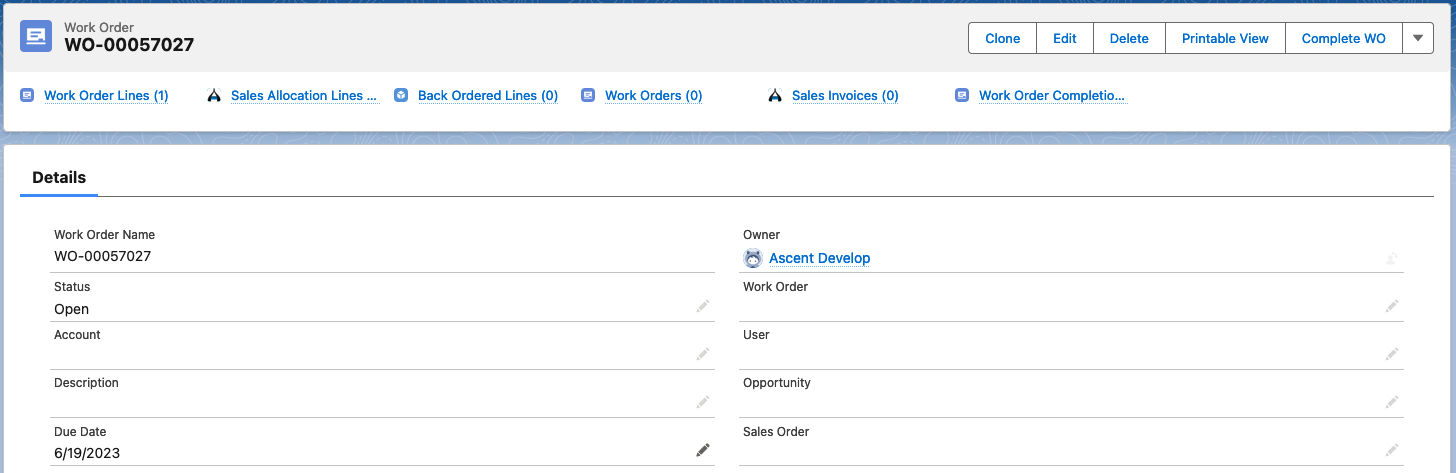
And the Repair Order Line:

Note that the Move Inventory? checkbox is selected. This will allow us to move the material, once the work order is complete, to another location, possibly for shipping back to the customer.
We are going to add two other lines to this repair work order. Let’s say that we inspect the line and determine that it needs to have a spring replaced. So, we’ll add a new line with an item whose description is Spring and set the flag for Consume Inventory? to be checked. Additionally, let’s add a Labor component to this repair for the time spent removing the old spring and installing a new spring. Optionally, we can set the Billable? Flag and then generate an invoice. There is another document called Work Orders – Invoicing that you can reference to see that.
Click the Add Lines by Item# and add the Spring (tc202), and check the Consume Inventory? checkbox, since it will be used to fix the 409cm1 Small Motor:

Now, let’s add a Labor line, .25 hours, to account for the time to replace the old Spring with the new Spring and hit save:

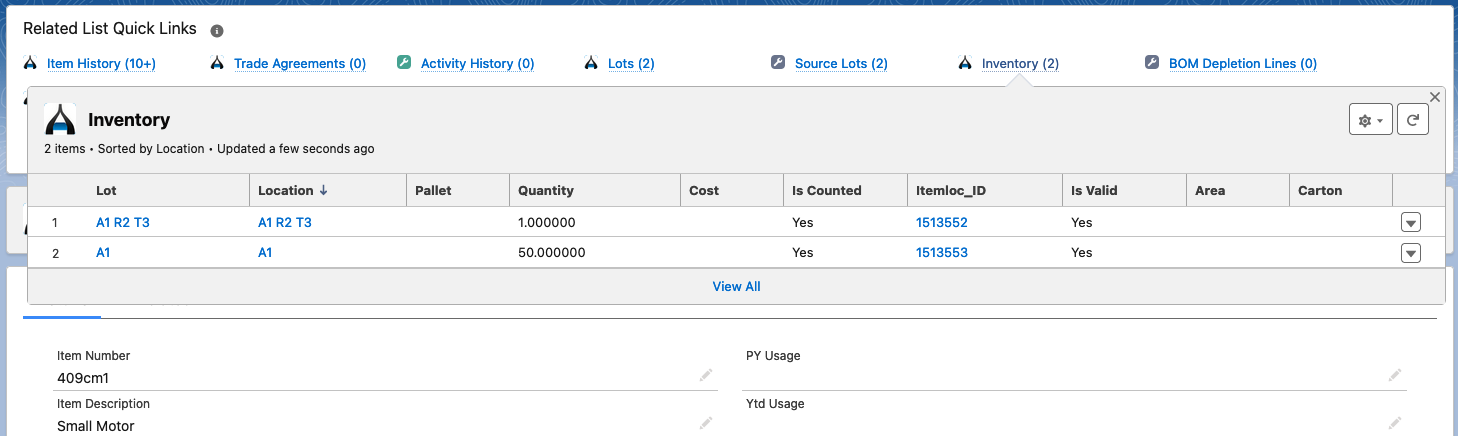
Before completing the Repair Work Order, let’s look at the inventory for the two non-labor items. First, the 409cm1. There are 50 in location A1 and 1 in location A2 R2 T3:
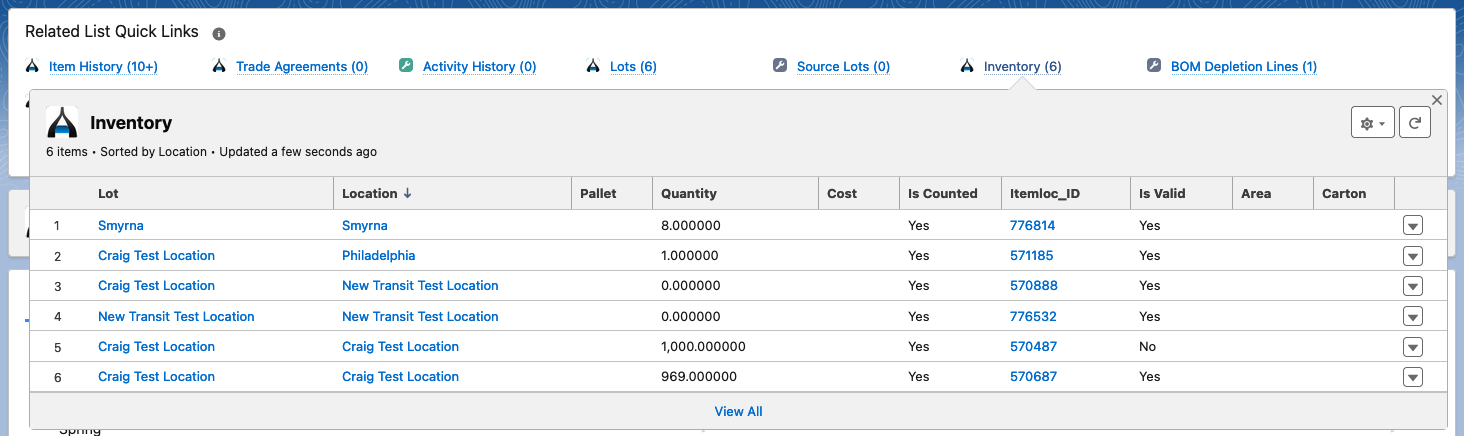
Now, let’s look at the Spring, item tc202 in location Smyrna:
Now let’s complete the Repair Work Order, by clicking the Complete WO button on the top right hand portion of the screen. When we do that, we’ll see this:
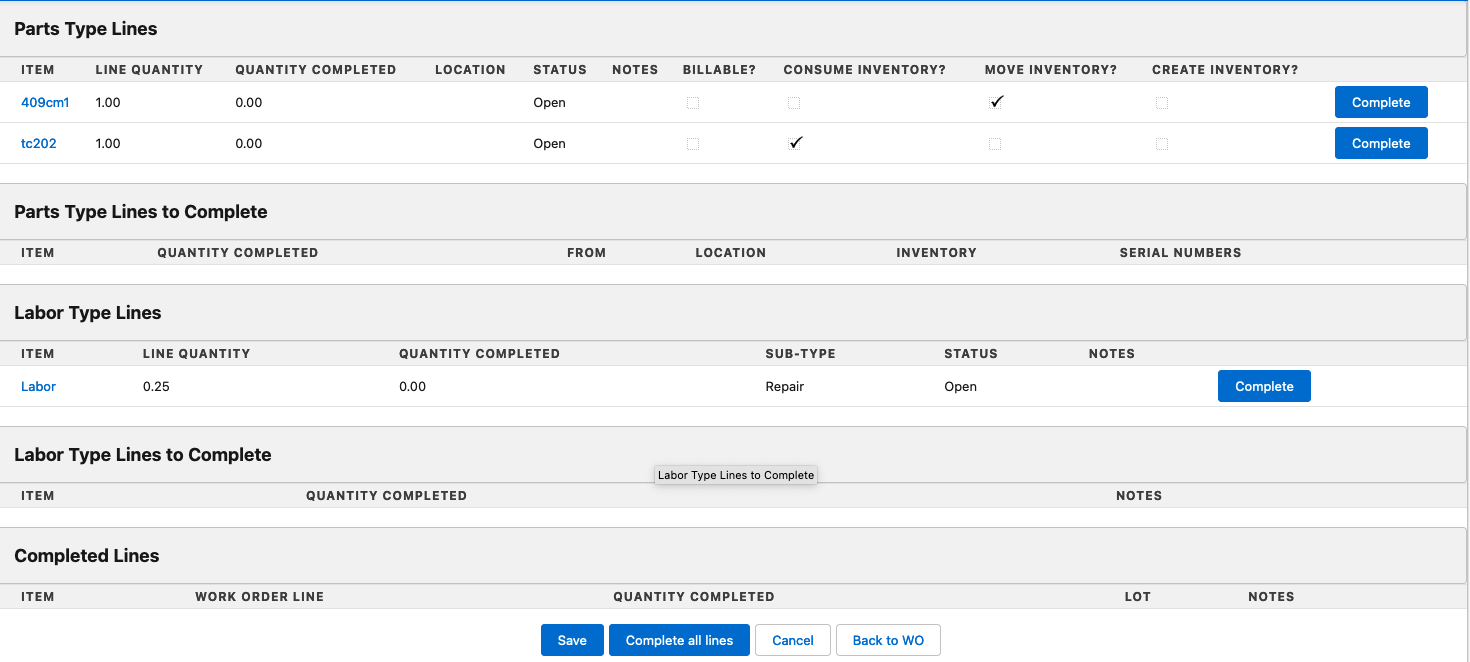
We have two Part Type Lines to complete and one Labor Type line to complete. We’ll click the Complete all lines button at the bottom of the screen now and will see this:
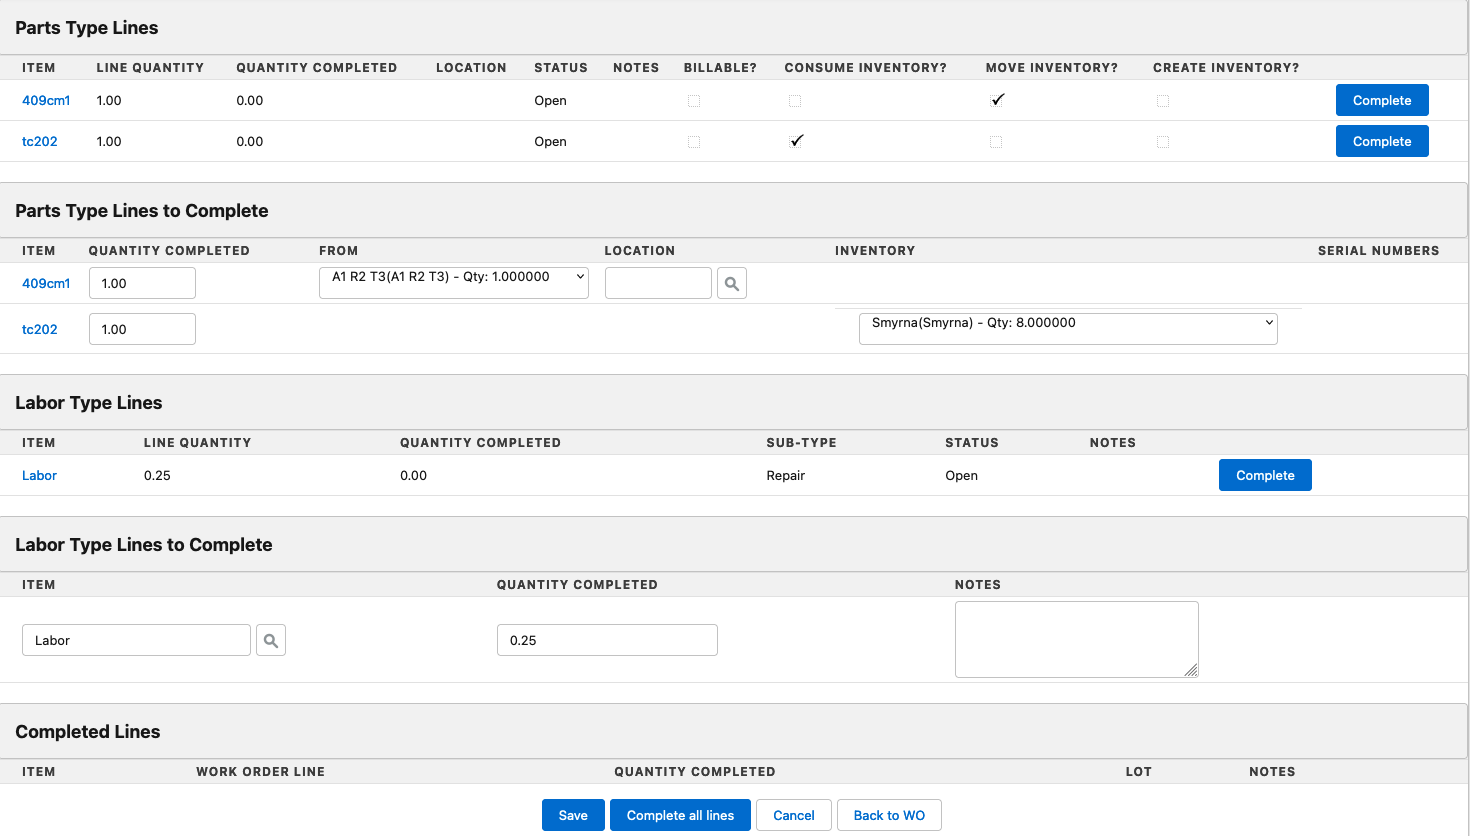
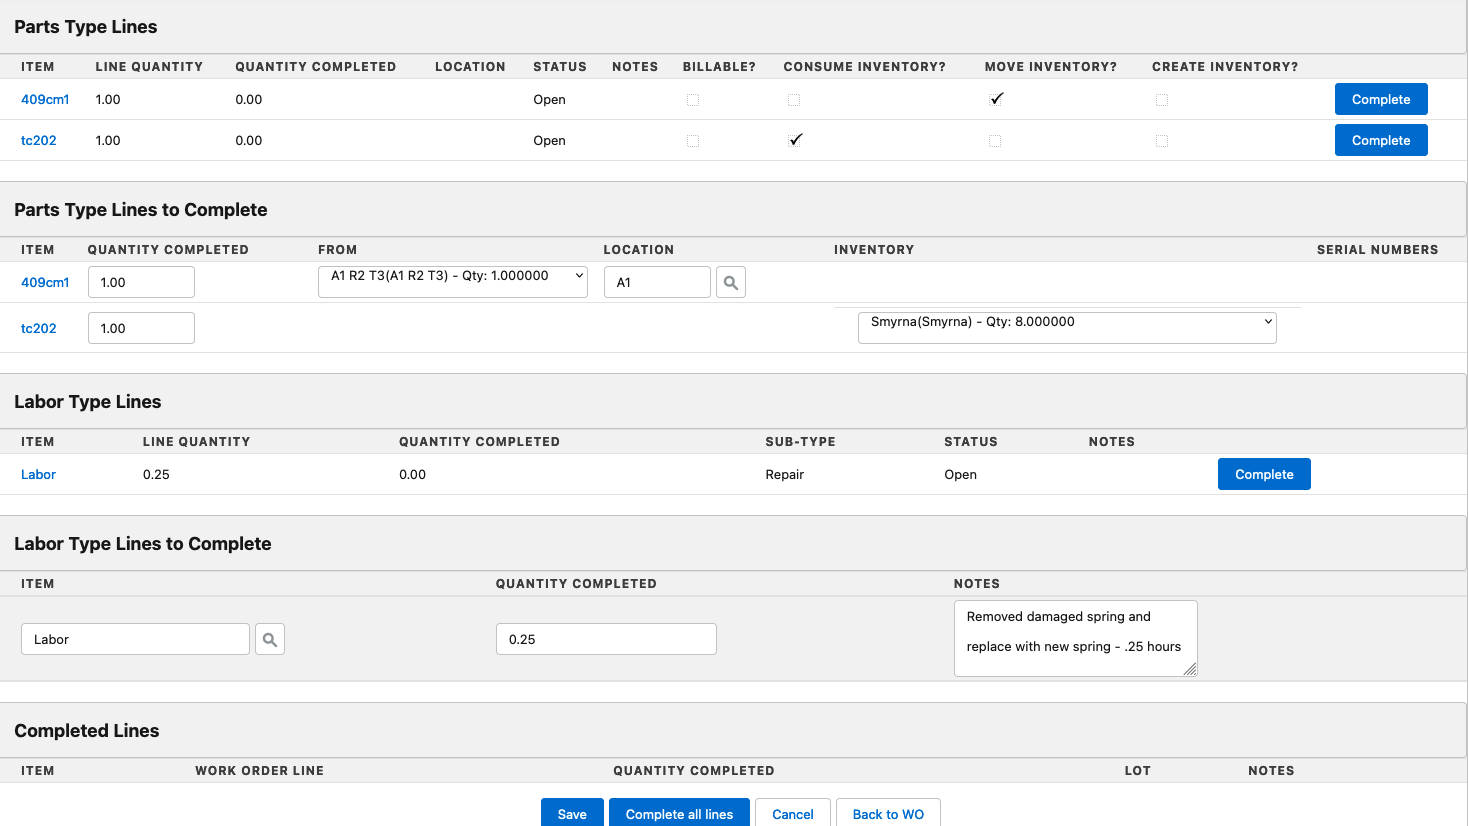
For item 409cm1, we are able to move the material from the current location (maybe it is an inspection location, maybe it is a refurbishment location) to a stocking location, A1, under the assumption that the spring has been added.
For item tc202, the spring, we are going to deduct it from inventory.
For Labor, we’ll just record that .25 hours have been completed, and note that in the Notes field.
Now, let’s hit save and see the result:
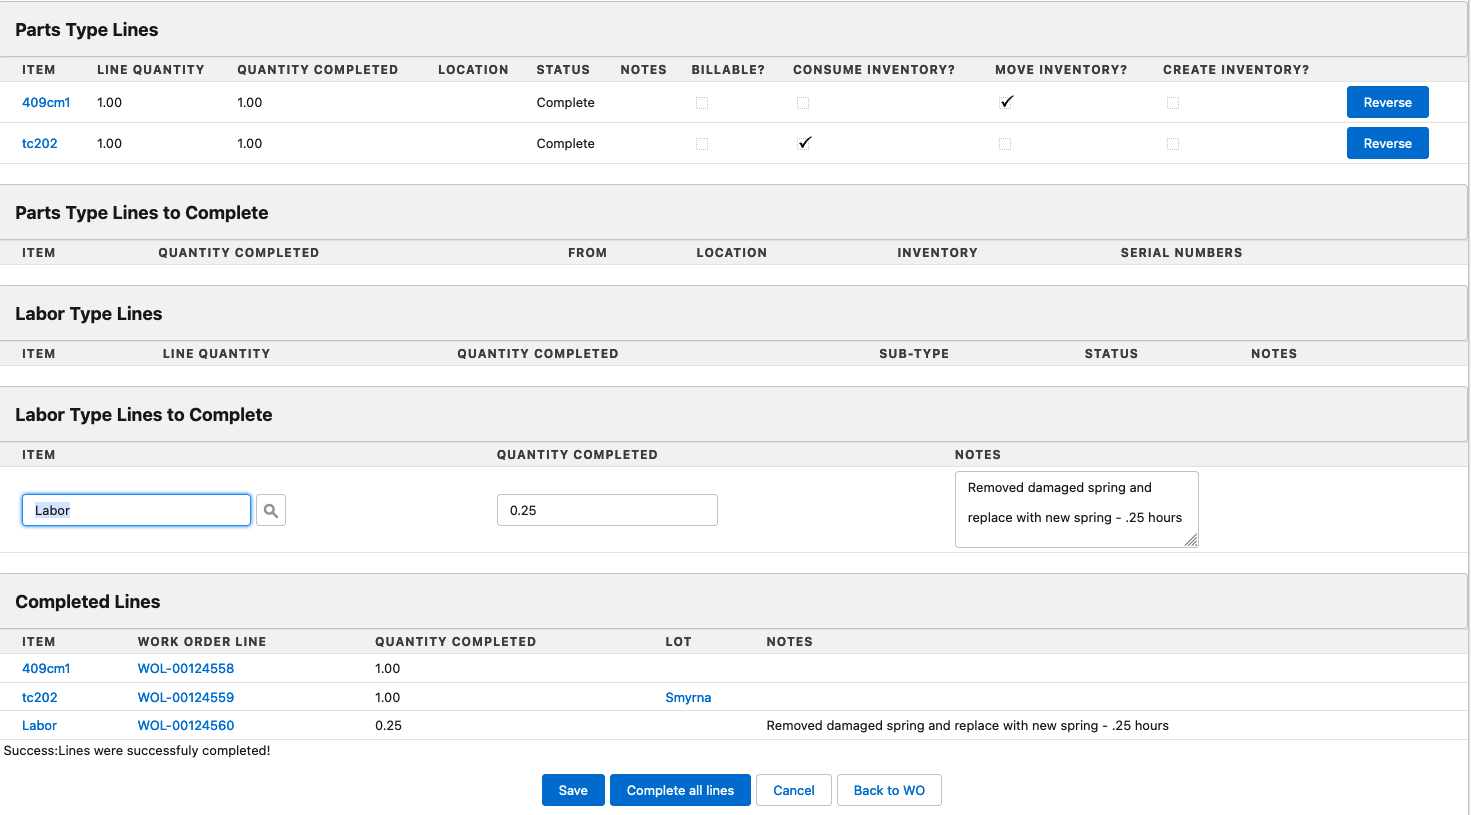
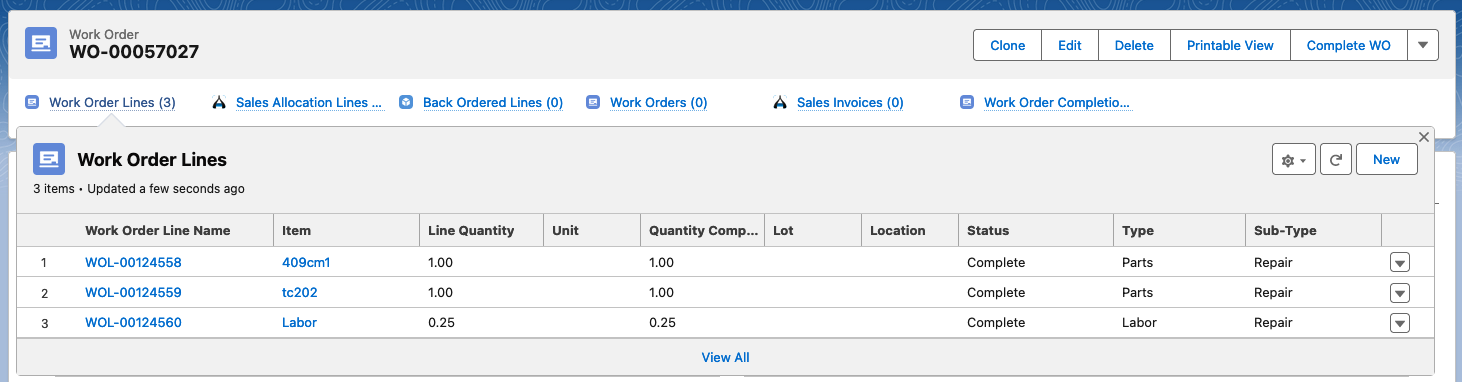
We received a confirmation message indicating that the three lines are completed. We successfully completed the Repair Work Order. Now, by hitting Back to WO, we can see the work order as being complete:

The three work order lines also show as complete:
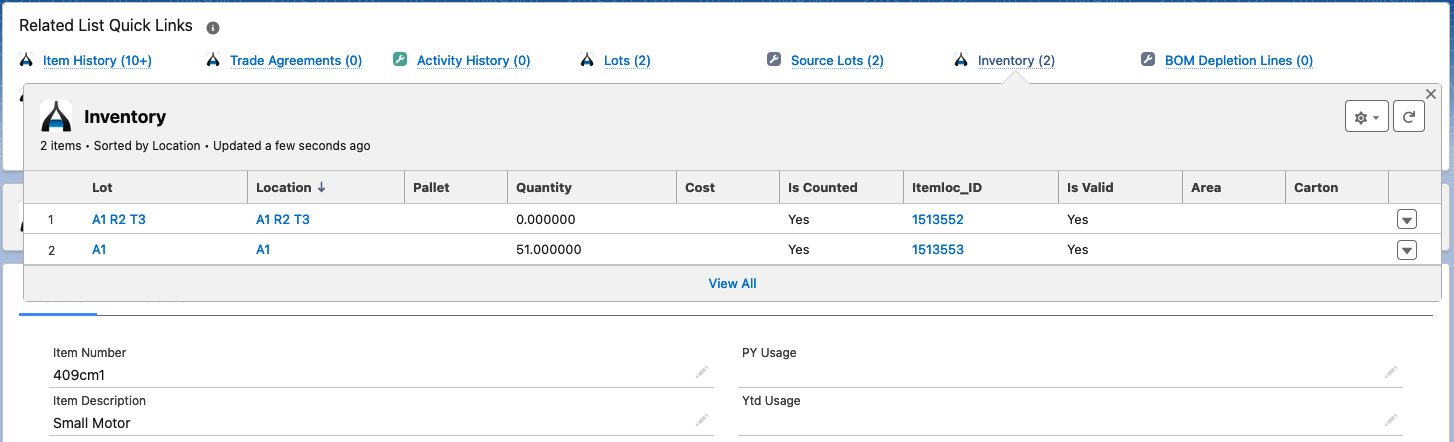
Looking at inventory for 409cm1, we see that it has moved from A1 R2 T3 to A1:
and tc202 has been reduced in location Smyrna by the quantity consumed (1):
