Work Order – Invoicing
Overview and Process
A Work Order can be created for a number of reasons … delivery, inspection, repair, parts, etc. As a result of any of those activities, there might be a need to invoice a customer for that work done. This can be done using the Invoicing functionality on the work order.
Creating a Work Order: work orders can be created from a sales order, a purchase order, a production work order, or manually. For this example, let’s take a simple manually entered work order.
- First, create the work order (we’ve done so already):


Note: since we are illustrating invoicing a work order, we must put an Account on this work order. Our example shows that we are invoicing “Acme”.
- Next, let’s add a work order line. Note that we put in a Quantity, a Rate/Price (how much are we going to charge for each unit of service),entered values for Type, Sub-Type, Inspection, and Operational Check, and most importantly, selected the Billable? checkbox. This Billable? checkbox is what makes this line eligible to be invoiced.

We have a work order and work order line created. To get the invoice created, we must do the following:
- Complete the work order
- Click the Invoice button to generate the invoice.
Completing the Work Order:
At the top of the work order is a button called Complete WO:

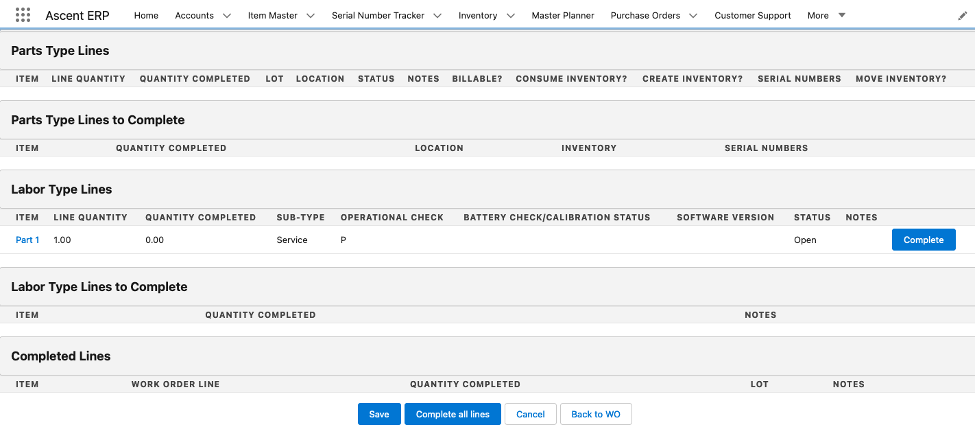
Click that, and then you are brought to this screen. Since we created a Labor Type, we are asked to complete that line type:

After clicking either Complete at the line item level or Complete all lines at the bottom of the screen, we are then given this notification that the Quantity Completed is satisfied (1):

Finally, let’s Save the screen, and we’ll be show a confirmation message:

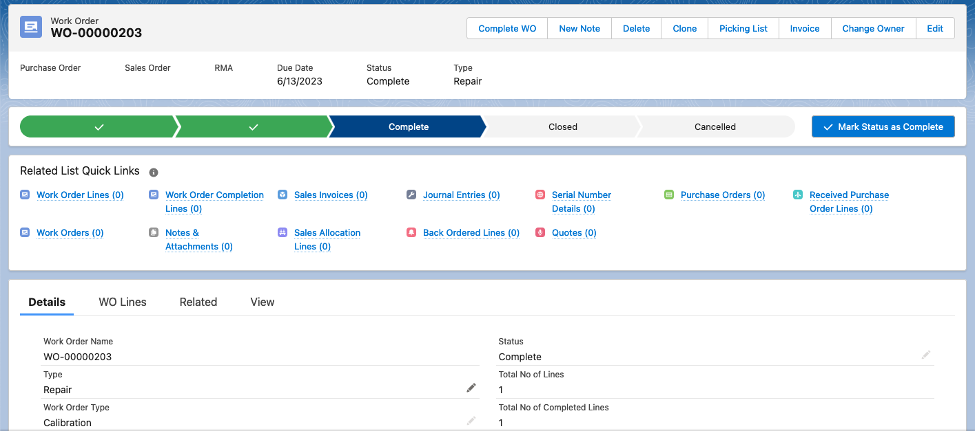
Lastly, let’s select the Back to WO button, and we’ll be brought back to the Work Order screen:

To invoice this work order, we can now select the Invoice button at the top of the screen, and once clicked, we’ll be shown this:

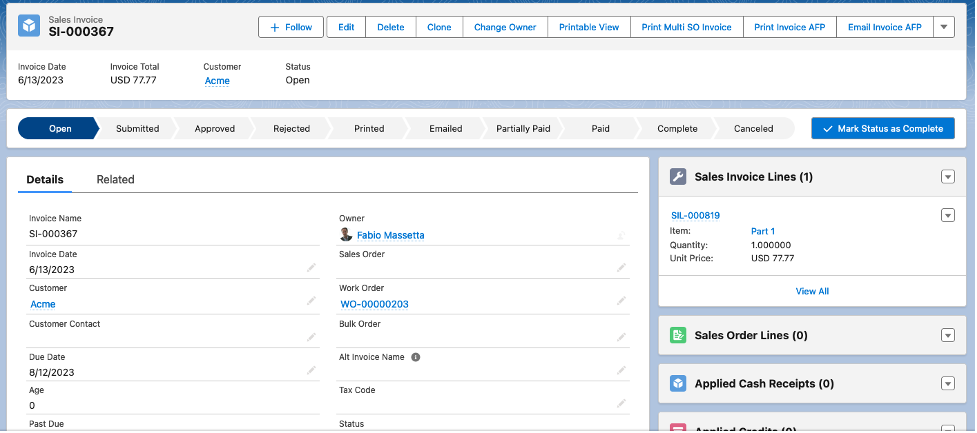
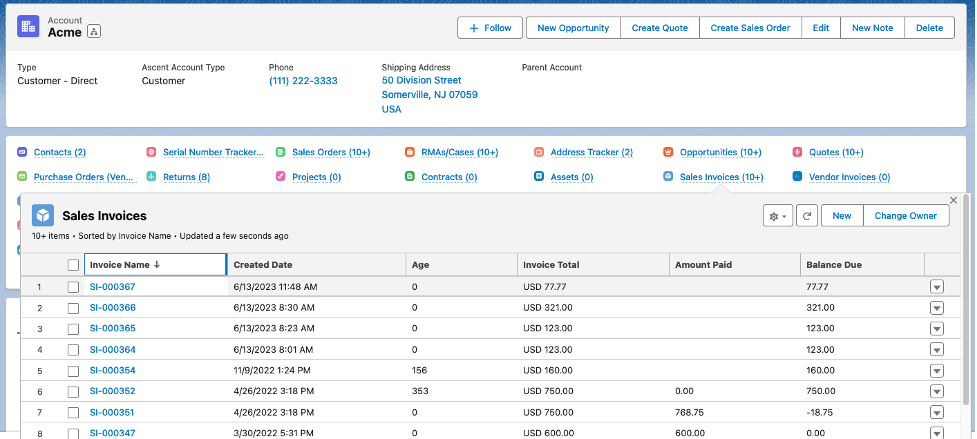
The invoice has now been created, assigned a Sales Invoice number (SI-000367), and is now linked to Account Acme:

