Ascent4Products
Summary:
The Ascent4Products purpose is to sync the Ascent Items with legacy Salesforce Products. Many companies that are using Salesforce Products require an inventory control system, and this tool allows them to use Salesforce Opportunities and have them convert over to Ascent Sales Orders, through Ascent4Products’ synching capabilities between products and items. It should also be understood that depending on how a company uses opportunities, this product may not be necessary, as Ascent items can also be used on opportunities.
The sync is a directional sync, meaning either the product is the master or the Item is the master object. If the product is the master, then every time a product is created or updated, an associated Item will be created or updated in Ascent. If the Item is the master, then an associated product is created or updated based on changes to the Item.
Synced Fields:
| Item Master | Product |
| Item Number | Product Name |
| Default Item Group | Default Group |
| Default Location | Default Location |
| Default Unit of Measure | Default Unit of Measure |
| Item Description | Product Description |
| Active | Active |
*Also see the section on Custom Field Mapping below
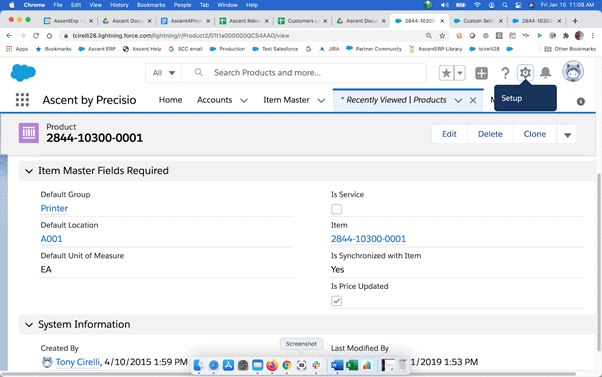
There is also a lookup on the Item Master to the Associated Product once the product is synced. This creates a related list of Item Masters on the Product.
How it works:
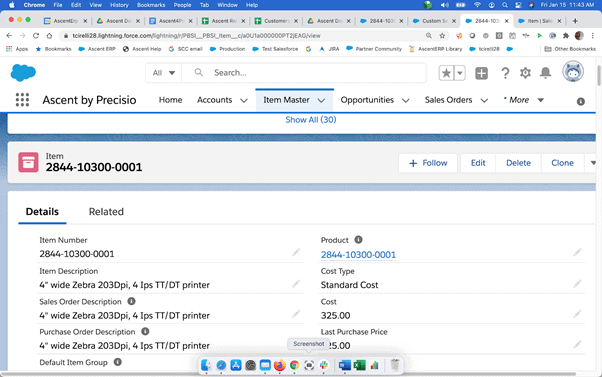
When a user creates a new Item it will automatically create a new product with the fields listed above and link the associated Product to the item master. If the customer wishes to have the product be the master, then whenever a product is created, an Item Master is created with the above fields.
This is an automated process once set up. It can also be turned off and on at will if necessary. Additionally, a manual sync is possible. If this feature is desired please contact help@ascenterp.com and it can be added.
When the item is edited, its associated product is also updated and vice-versa depending on desired settings.
Important Notes:
- Because the Item Master contains more detailed information on Item specifics, inventory details, location, procurement and fulfillment it is highly recommended to choose the Item as the Master object for Sync.
- The “Default Item Group”, “Default Location” and “Default Unit of Measure” are required fields for creation of an Item in Ascent. For this reason, these fields have been added to the Salesforce product. If you choose to use the product as the master for Sync, you must fill out these fields before the Item can be created and/or synced from the Product object.
Initial Setup:
The setting that controls the directional sync is under the Ascent Custom Settings. You can access this page by:
1.) Setup-> Develop-> Custom Settings
2.) Click on “Manage” next to Admin Settings (Ascent)
3.) Click on Edit.
The field we are concerned with is called “Create/Update Products by Items”. See this below:
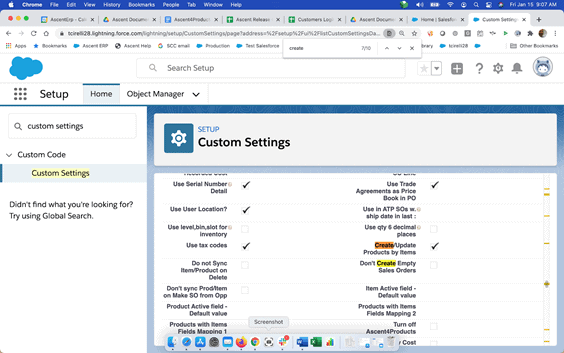
If the “Create/Update Products by Items” is checked, this means that an update or creation of Ascent Items will create Salesforce products. If the box is unchecked it is the opposite, where Products will update items.
After installation of the package you can do a one time sync from either products to items or items to products depending on which functionality is preferred. A user case for this is if a customer is already using Salesforce Products before becoming an Ascent customer. They may want to do a one time push of all products into the Item so they don’t have to worry about uploading large amounts of data for the Item master.
The “Create Products by Items” box controls which way this initial sync will take place. To access the button that will do this initial sync go here:
1.) Setup->Installed Packages
2.) Click on “Configure” next to the Ascent4Products package.
3.) Click on the Button on this “Merge” visualforce page.
It will look like this, if the custom setting Create/Update Products by Items is checked:
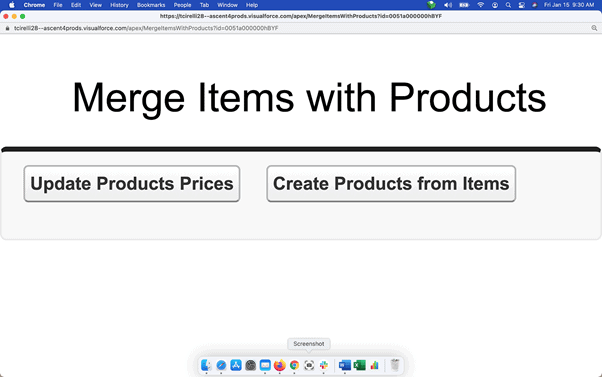
If you click the “Update Products Prices” from this screen AFTER performing “Create Product from Items”, then Ascent4Products will create a standard price book entry for this product coming from the Sales Price on the Item Master.
Or this, if the custom setting Create/Update Products by Items is blank :
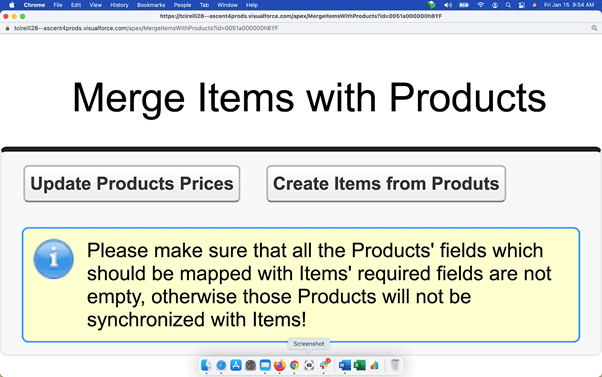
If you click the “Update Products Prices” from this screen AFTER performing “Create Items from Product”, then Ascent4Products will update the Item Master Sales Price field for this item coming from the standard price book for this product.
Please note, this process will sync ALL items with products or products with items. It is very powerful and could have the ability to create a lot of data in the customer’s org. Again, remember the custom setting “Create Products by Items” will control which button shows on this page.
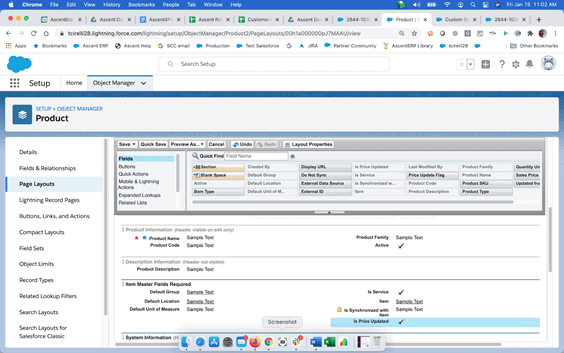
Product Layout Configuration:
We need to add a few fields to the product layout representing important fields from the Item Master.
1) Go to Setup (gear icon) > Edit Object > Page Layouts > Product Layout
2) Click on Product Layout
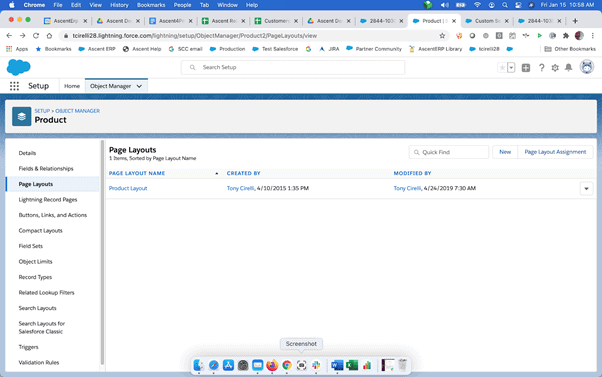
3) You want to move the Default Group, Default Location and Default Unit of Measure to the Product layout by dragging and dropping these fields down below. Additionally, you can drop
4) Next Click on Related Lists in the Left Part of the Product Layout Field Box.
5) Drag the Item Master Related List below Price Books.
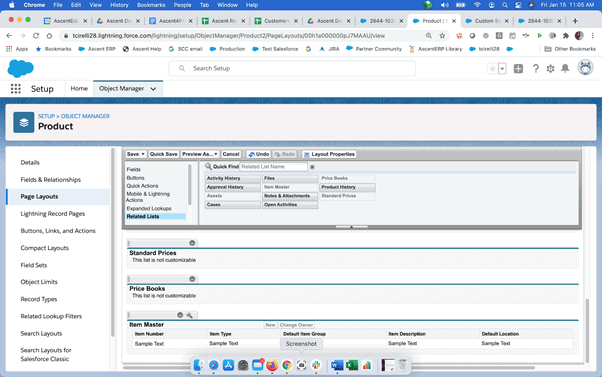
6) Click Save.
7) Accept any warnings.
Item Master Layout Configuration:
1) Go to Setup (gear icon) > Edit Object > Page Layouts > Item Layout
2) Click on Item Layout
3) Drag the product field to the Item Master layout.
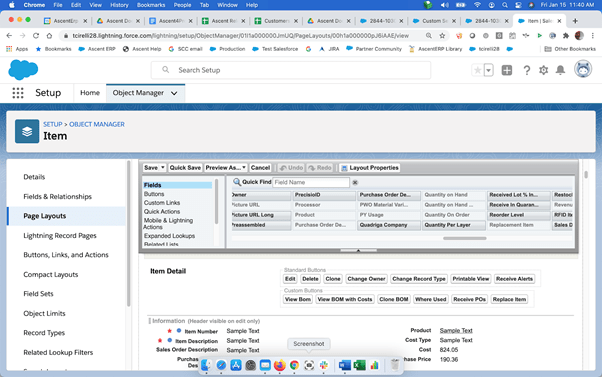
4) Click Save
Custom Field Mapping
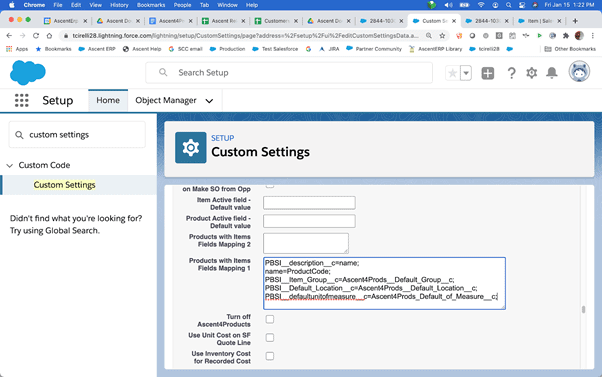
Sometimes the customer may want a specific mapping of fields from other than the default mapping done by Ascent4Products. This must be specified using the fields “Products with Items Fields Mapping 1” and “Products with Items Fields Mapping 2”, which can be found in the Custom Setting: “Admin Settings (Ascent)”. These fields are each a 255 character text field, which can hold multiple field mappings, separated by semicolons. When specifying the custom field mappings, if the total number of characters in “Products with Items Fields Mapping 1” is exceeded, then put the remaining field mappings in “Products with Items Fields Mapping 2”. Also, note that once you specify a custom field mapping, even if only 1 custom mapping is needed, you must minimally specify the mapping for all of the required fields. See below for an example of a custom mapping done for one customer that is creating Item from Products:
Mapping Example
Name=ProductCode;
PBSI__description__c=Name;
PBSI__Item_Description_Long__c=Description;
PBSI__Item_Group__c=Ascent4Prods__Default_Group__c;
Second one
PBSI__defaultunitofmeasure__c= Ascent4Prods__Default_Unit_of_Measure__c;
PBSI__salesprice__c=Ascent4Prods__Sales_Price__c;
PBSI__Default_Location__c =Ascent4Prods__Default_Location__c;